Please read instructions throughout before beginning replacement
This guide is for customers that need to replace their speed switch. This guide provides detailed step by step instructions to help Newport trolling motor customers with the disassembly process of the old switch and installment of the new switch.
If the top cover does not fit securely, check to make sure there are no obstructions. Common areas are where the top cover and control head moldings meet.
Wires can also interfere with the screw housings that connect the two halves together.
Also, make sure that none of the wires are being pinched when reassembled.
Enjoy your new switch! Let us know if you have any questions or need help with this installation.
Please give us a call at (866)721-0002 or email us at support@newportvessles.com

1
Set trolling motor speed to “0’
and disconnect from battery.

2
Remove screws under the control head.
3
Carefully lift control box cover and disconnect LED wiring.

4
This is the control switch.
TIP: Take pictures of wiring and
placement for re-installation.

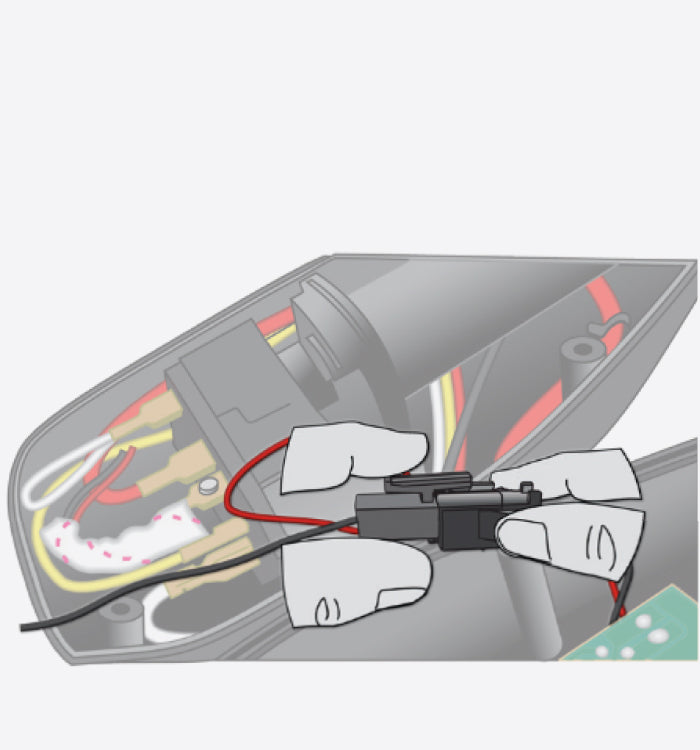
5
Remove wires from their
connections, except for the
wires with screws.

6
Remove screw and tab located
at the bottom of the switch.

7
Remove the remaining wires by unscrewing
fasteners. Keep the fasteners for reinstallation.

8
Pull the switch and control handle apart.
9
Dispose of old switch.

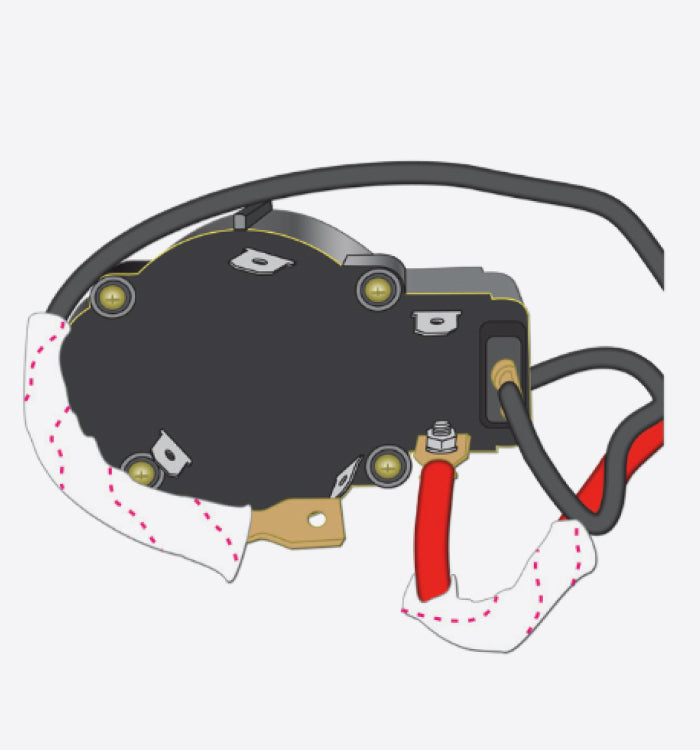
10
Install the wires with screws, starting with the red wire.

11
Reinstall the switch into the control handle.

12
Place switch and control handle back into
control box. Make sure the moldings match
their designated fittings.

13
Reinstall screw and clip to bottom of the switch.

14
Reattach remaining wires to their
respective connectors. Use pictures
you took earlier.

15
Double check the fit of the switch is
secure and wires are routed to not be
pinched or kinked.