


Helpful Information For Floorboard Installation
Newport Vessels Inflatable Boats are impeccably spec'd and manufactured for precision sizing and fit. This means that when you go to assemble your new inflatable boat, the fit between the different parts will be exceptionally tight as they are manufactured with high precision and with the tightest tolerances to insure there is no looseness or risk of components coming off from the boat, even with any expansion or contracting of material brought on by temperature.
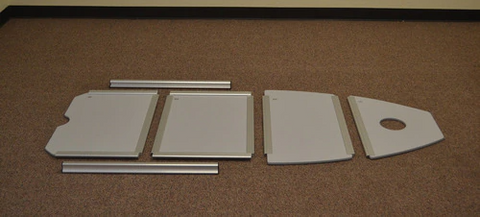
This high precision in all Newport Vessels Inflatable Boats can make for a challenging first-time assembly for novices, especially with the floorboard installation. But as the user learns small shortcuts and tricks to assembly, the whole process becomes easy as cake. Below is a simple floorboard installation procedure that our boat techs have developed to make first-time assembly a breeze:
1. Partially fill the side tubes 30% with air.
3. The Floorboards will seemingly not be a perfect fit with a joint sticking straight up. To fix this, partially inflate the bow 70-80% so it curves up to create a little more length for the floorboards to fit. You can proceed to push down the elevated joint more easily.
4. Install Side Stringers as per the Newport Vessels Inflatable Boat Owner's Manual
If you are a visual learner, you can also check out our assembly video Newport Vessels Dana Inflatable Sport Boat Assembly on Youtube.This simple installation procedure has worked wonders for first-time users who have since stood loyal to our Newport Vessels Inflatable Boats because of the high precision that goes into making the boats.
Happy boating!

Leave a comment