Adding Accessories On Your Dinghy

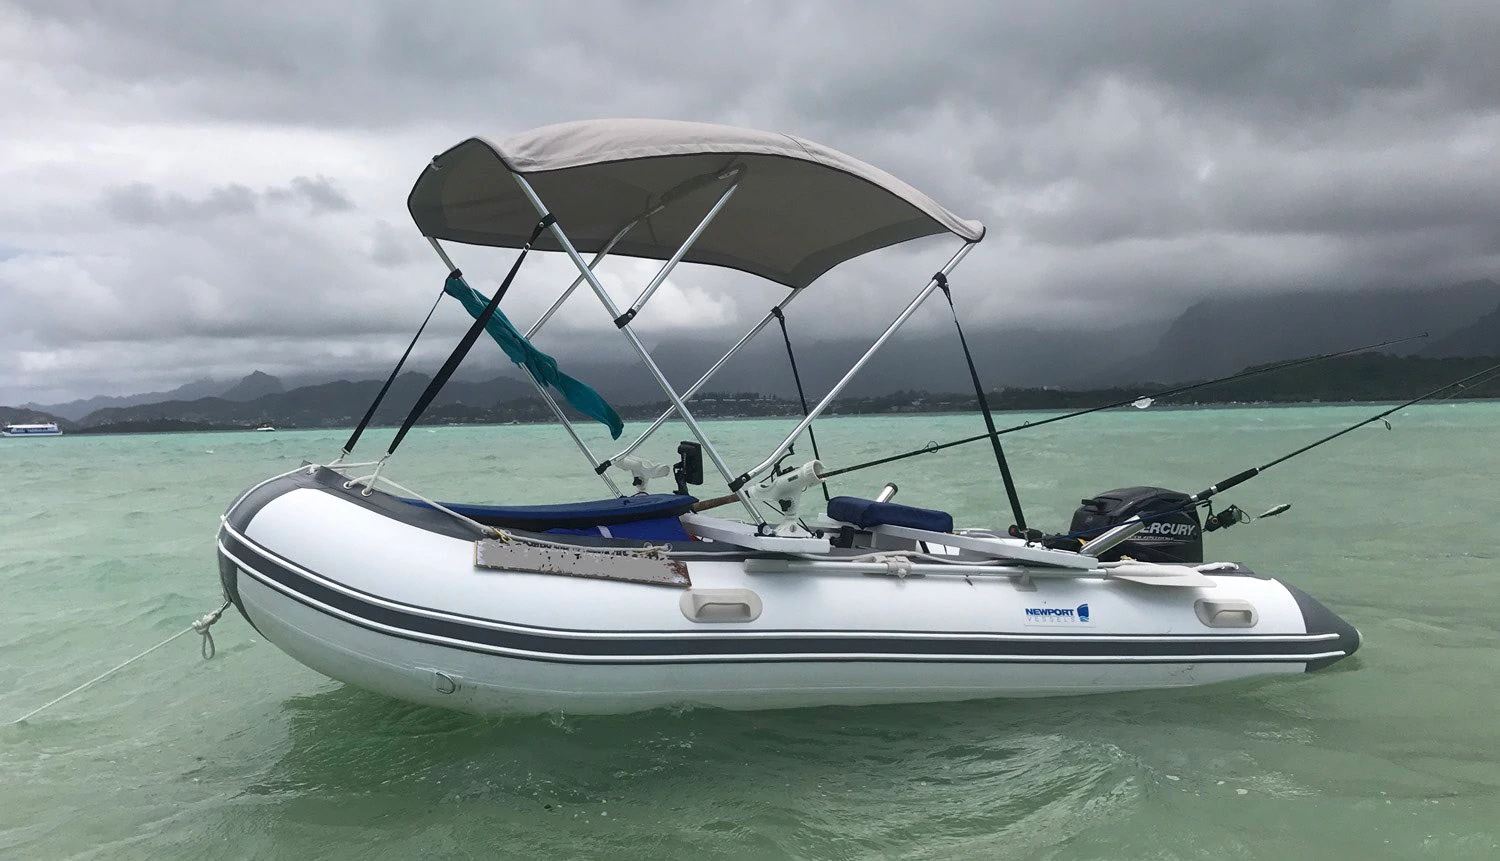
One of the great things about inflatable boats is their unique ability to perform well in every marine environment, opening a nearly unlimited variety of possible use applications. As a user, it’s a rewarding feeling to customize your inflatable with unique and creative accessories, to personalize the boat for your exact needs. From adding extra D-rings for davits or a rod holder for offshore fishing expeditions, anything is possible with your Newport Vessels inflatable dinghy.
gluing patches
When adding accessories to your dinghy, make sure you are in a well-ventilated area with the proper protection equipment. This equipment is very important when working with glues or solvents. Here are the following tools and equipment we recommend:
- Gloves
- Respirator
- Protective glasses
- Magic marker
- Masking tape
- MEK (Methyl Ethyl Ketone)
- 2-Part PVC Adhesive
- Paint brush (w/ bristles)
- Rags
- Smoothing tool (kitchen spoon)
- 180 grit sandpaper
For most accessories, you will want to keep your dinghy inflated during the installation. However, if you are attempting to place an accessory on your air floor, it is best to deflate it before installation. This article will walk you through how to install an accessory onto your dinghy, with step by step instructions.
adding an adhesive accessory to your dinghy
1. Mark the area you will be placing the accessory with a magic marker, then use masking tape to create a border around this marked area. This will help ensure the solvent and glue stay within the marked area, and will minimize cleanup.
2. Next, you will need to lightly sand the area with 180 grit sandpaper. The objective is to create a matte finish. Repeat this step with the bottom of the accessory, if it has not already been pre-sanded. This will help create a rough surface that the glue can strongly adhere to.
Note: Be careful not to sand for an extended period of time or aggressively on the hull of your dinghy. This could damage your hull.
3. It is extremely important to be wearing your safety equipment for this part of the installment. Gloves, respirator and safety glasses should be worn at all times during use with solvents and glues. After this is finished, use a MEK soaked rag to clean the accessory and marked area. This will prime both surfaces for the glue. If you do not have MEK, acetone will work, but not as effectively as MEK. Wait for the MEK to completely dry.
4. We recommend Polymarine 2-Part PVC adhesive. This glue will provide a stronger, more permanent bond than 1-Part adhesives and works well with our boats. A 2-Part PVC adhesive is highly recommended with accessories that will be under considerable load. This glue can be found many places online or at local marine shops.
Begin by mixing half of the adhesive and cure into a cup. Be sure to follow the directions on your specific adhesive for correct ratio and mixing of the 2-parts
5. Once the adhesive is prepared, use a brush to apply a thin layer to both the accessory and the marked area on the boat. DO NOT INSTALL THE ACCESSORY. Allow each side of the glue to dry for a minimum of 30 minutes. After 30 minutes, you can apply a second coat to both surfaces, you are now ready to install the accessory.
Note: Using a brush with bristles is highly recommended. A foam brush may leave air bubbles within the glue itself. This would interfere with the strength of the bond.
6. In a smooth motion, roll the accessory patch from one side of the marked area, to the other. Make sure there are no air bubbles when rolling on the patch. If you make a mistake, quickly brush MEK onto the glue, remove the patch and start over. Although this can be frustrating, it’s better than losing equipment because of a poorly bonded accessory.
7. Using a smoothing tool (a kitchen spoon works), smooth out the patch with moderate force to ensure the two surfaces bond tightly together. This process will also help force out any remaining air that might be trapped between the boat and accessory during installation.
8. Allow for a minimum of six hours drying time before putting any strain on the attached accessory. A full cure will be complete after 48 hours of installation. Maximum bond strength will be achieved seven days after the installation. We recommend waiting 48 hours before using any small and lightweight attachments. For D-rings that will be used in towing or with a davit system, wait the full seven days before using for this purpose.
If you have any questions during this process or need additional help, please reach out to our California based customer service team (866) 721-0002.
pre applied glue accessories
Being able to customize your vessels to fit your personalized needs is a great advantage to owning an inflatable boat, however, it comes at the cost of time. Some companies now offer accessories that both save time and eliminate the possibility of making your pristine new inflatable a glue covered mess, by offering VHB taped or pre-glued accessories.
Railblaza is one company that has developed a system, allowing users to easily install accessories. They provide an array of diverse, flexible and easy to use mounting system to help personalize your inflatable dinghy. Their StarPort compatible accessories offer a wide range of possible attachments, from rod holders to bimini top supports. Recently, they have released their RIBPort with a 3M VHB patch. This allows the user to stick a Railblaza RIBPort onto their inflatable quickly, and without messy adhesives. While these accessories offer great functionality, they are only intended to support Railblaza accessories, and are not intended for towing or other load bearing purposes.


Installing a Railblaza RIBPort on your inflatable is simple and quick. First, mark the area you intend to place your accessory and clean the marked area with the pad and alcohol wipes provided. Remove one side of the paper backing on the 3M VHB and carefully adhere this to the bottom of your RIBPort so there are no air bubbles. Trim off the excess pad and use a heat gun or hair dryer to lightly heat the RIBPort until it is malleable. Remove paper backing to firmly press onto designated area. Ensure you smooth out the air bubbles and it’s set for use! For detailed instructions of this installment, please view the instructions for the RIBPort on our webpage. With Railblaza, the possibilities are endless!


