


Kayak Series Trolling Motor

Features

30 Day Risk-Free Trial

Industry Leading Warranty
Talk To An Expert: 866-721-0002
Details
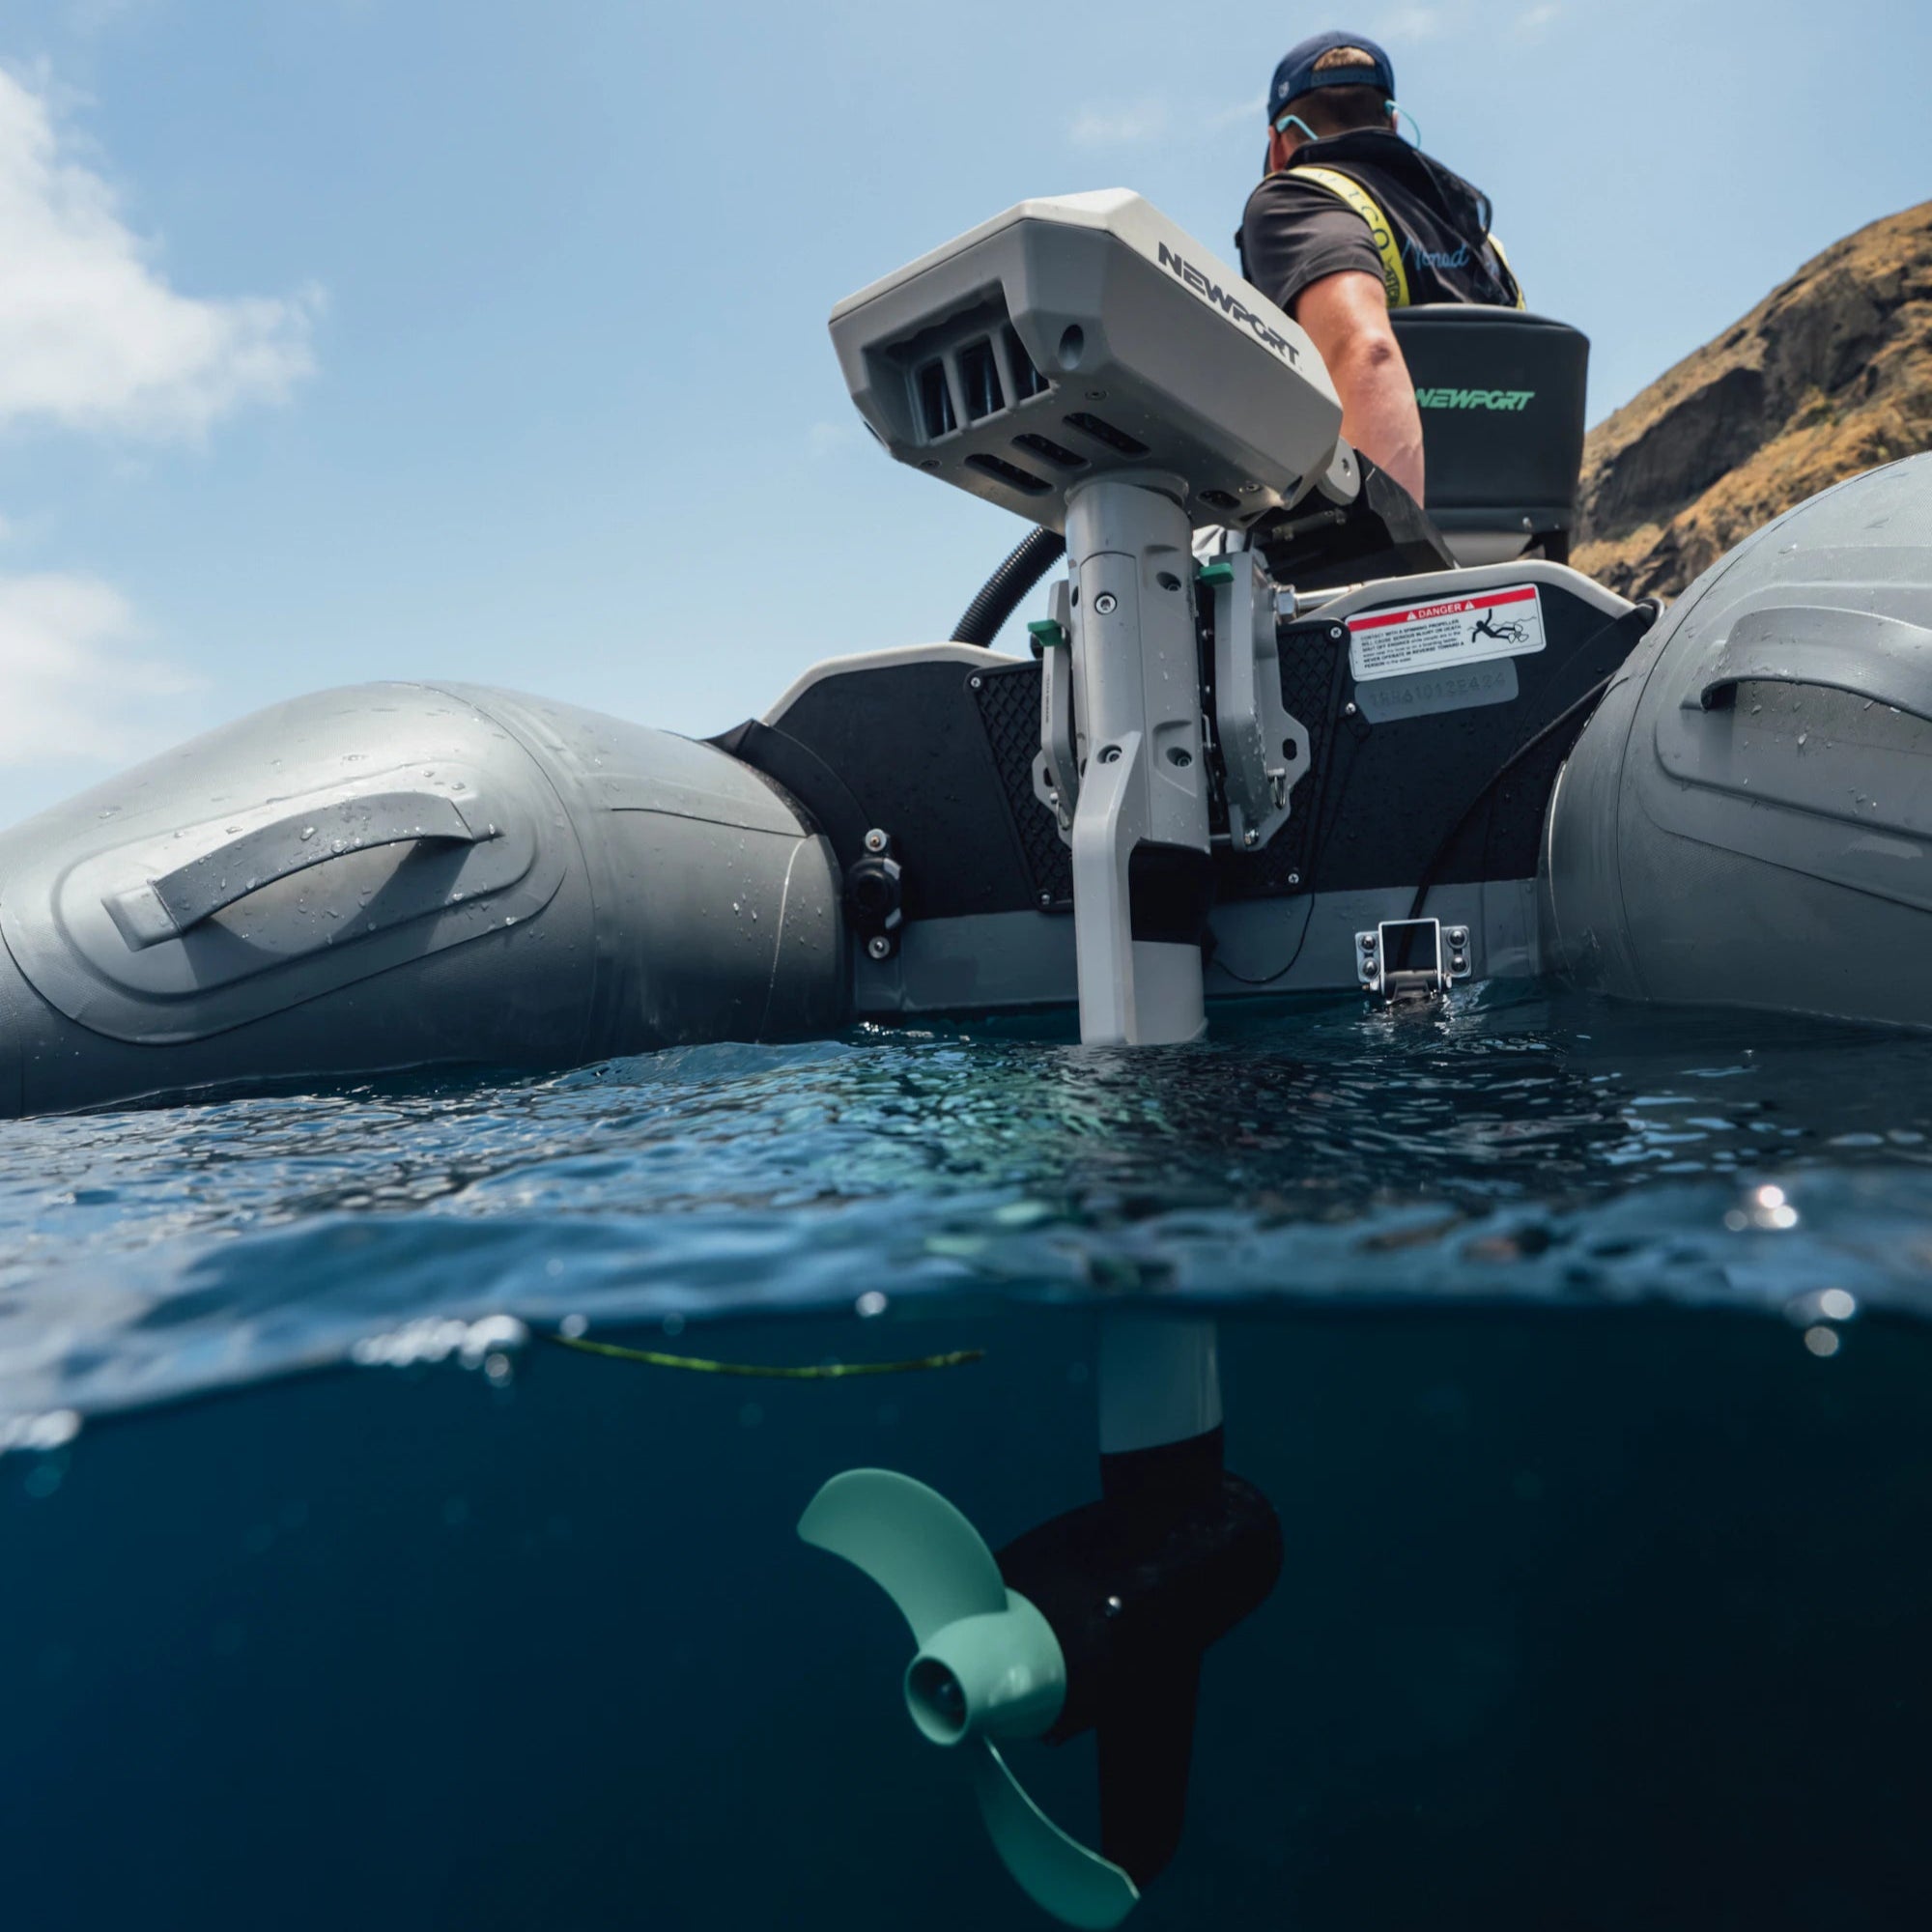
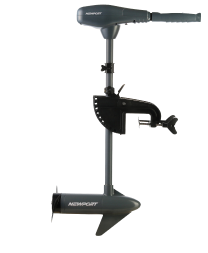
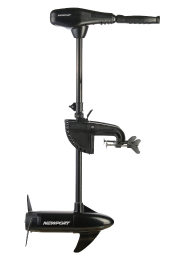
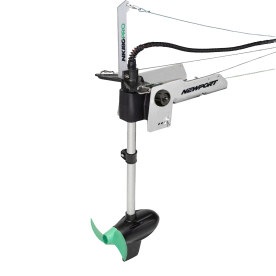
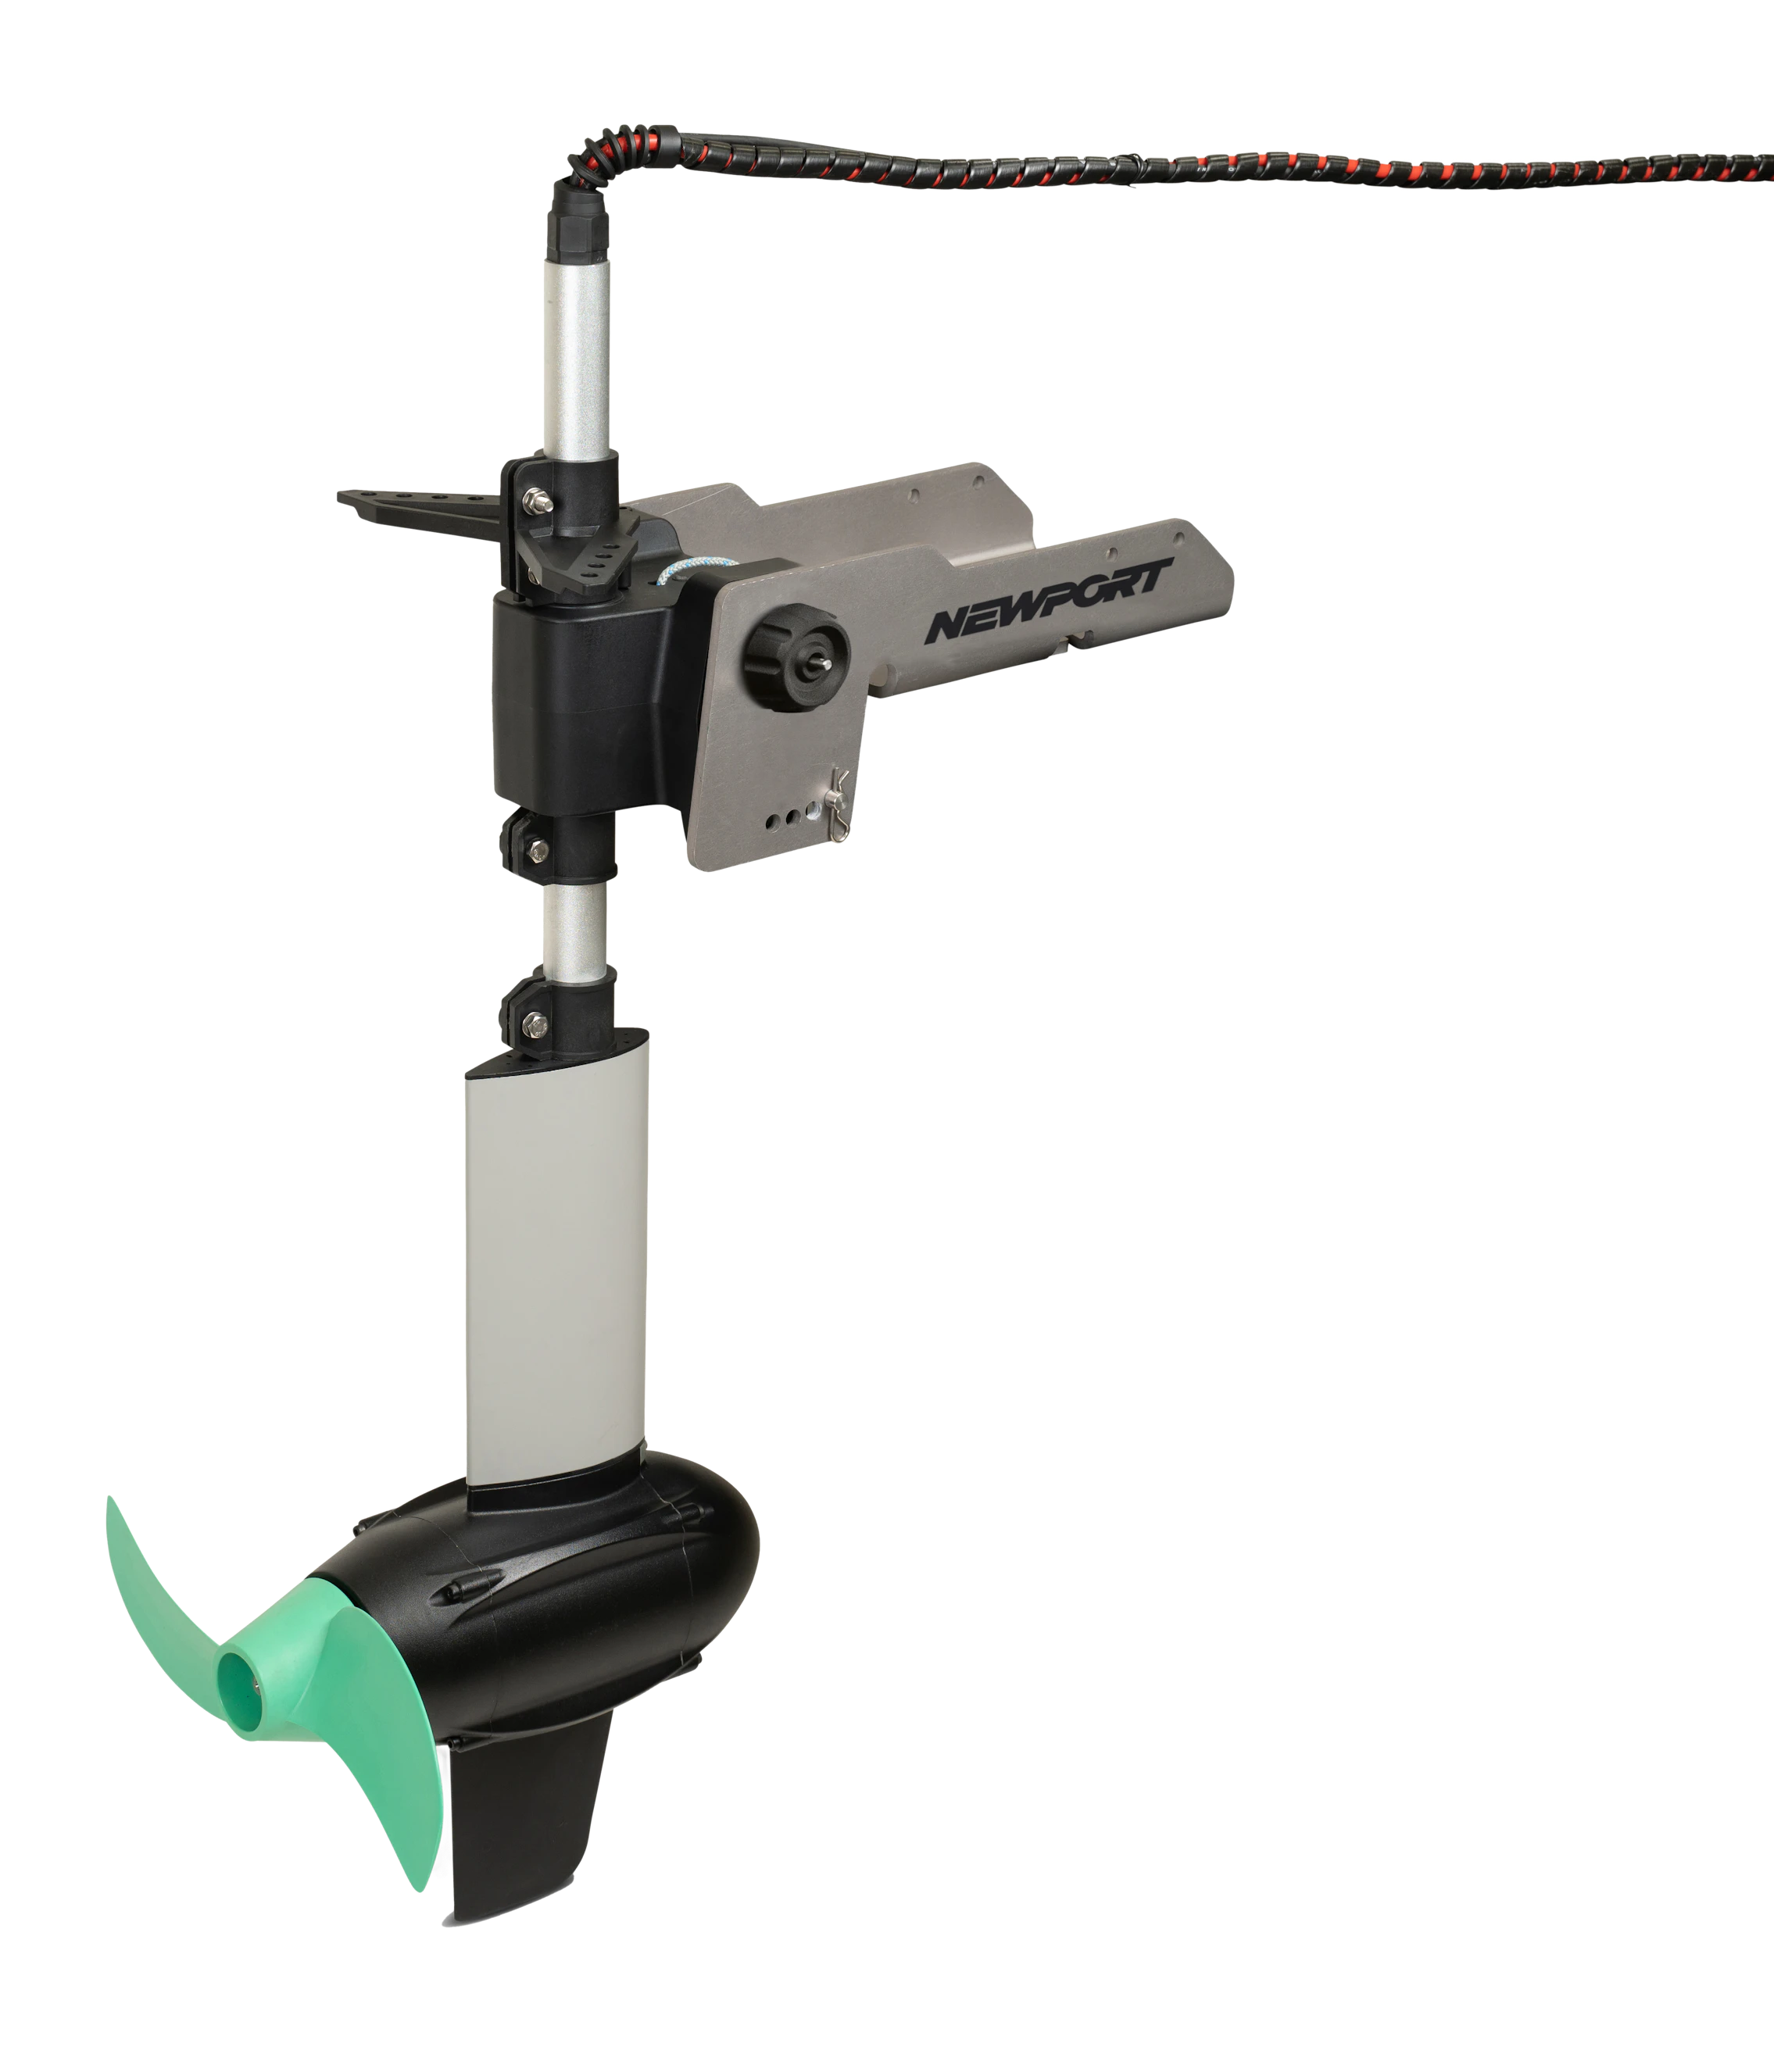
Elevate your kayak fishing experience with the Newport Kayak Series Trolling Motor, engineered specifically for anglers who need quiet, efficient propulsion with easy maneuverability. This compact, lightweight motor offers reliable thrust and whisper-quiet operation, perfect for stealthy navigation in freshwater or saltwater environments.
Designed for quick installation on most kayaks, the Kayak Series trolling motor runs on a 12V 50Ah deep cycle marine battery and features brushless technology for long-lasting, maintenance-free performance. The ergonomic throttle and digital display give you precise control over speed and battery life, so you can focus on your catch.
Take control of your next fishing trip with the Kayak Series Trolling Motor — engineered for precision, designed for adventure.
what’s in the box?
Warranty policy
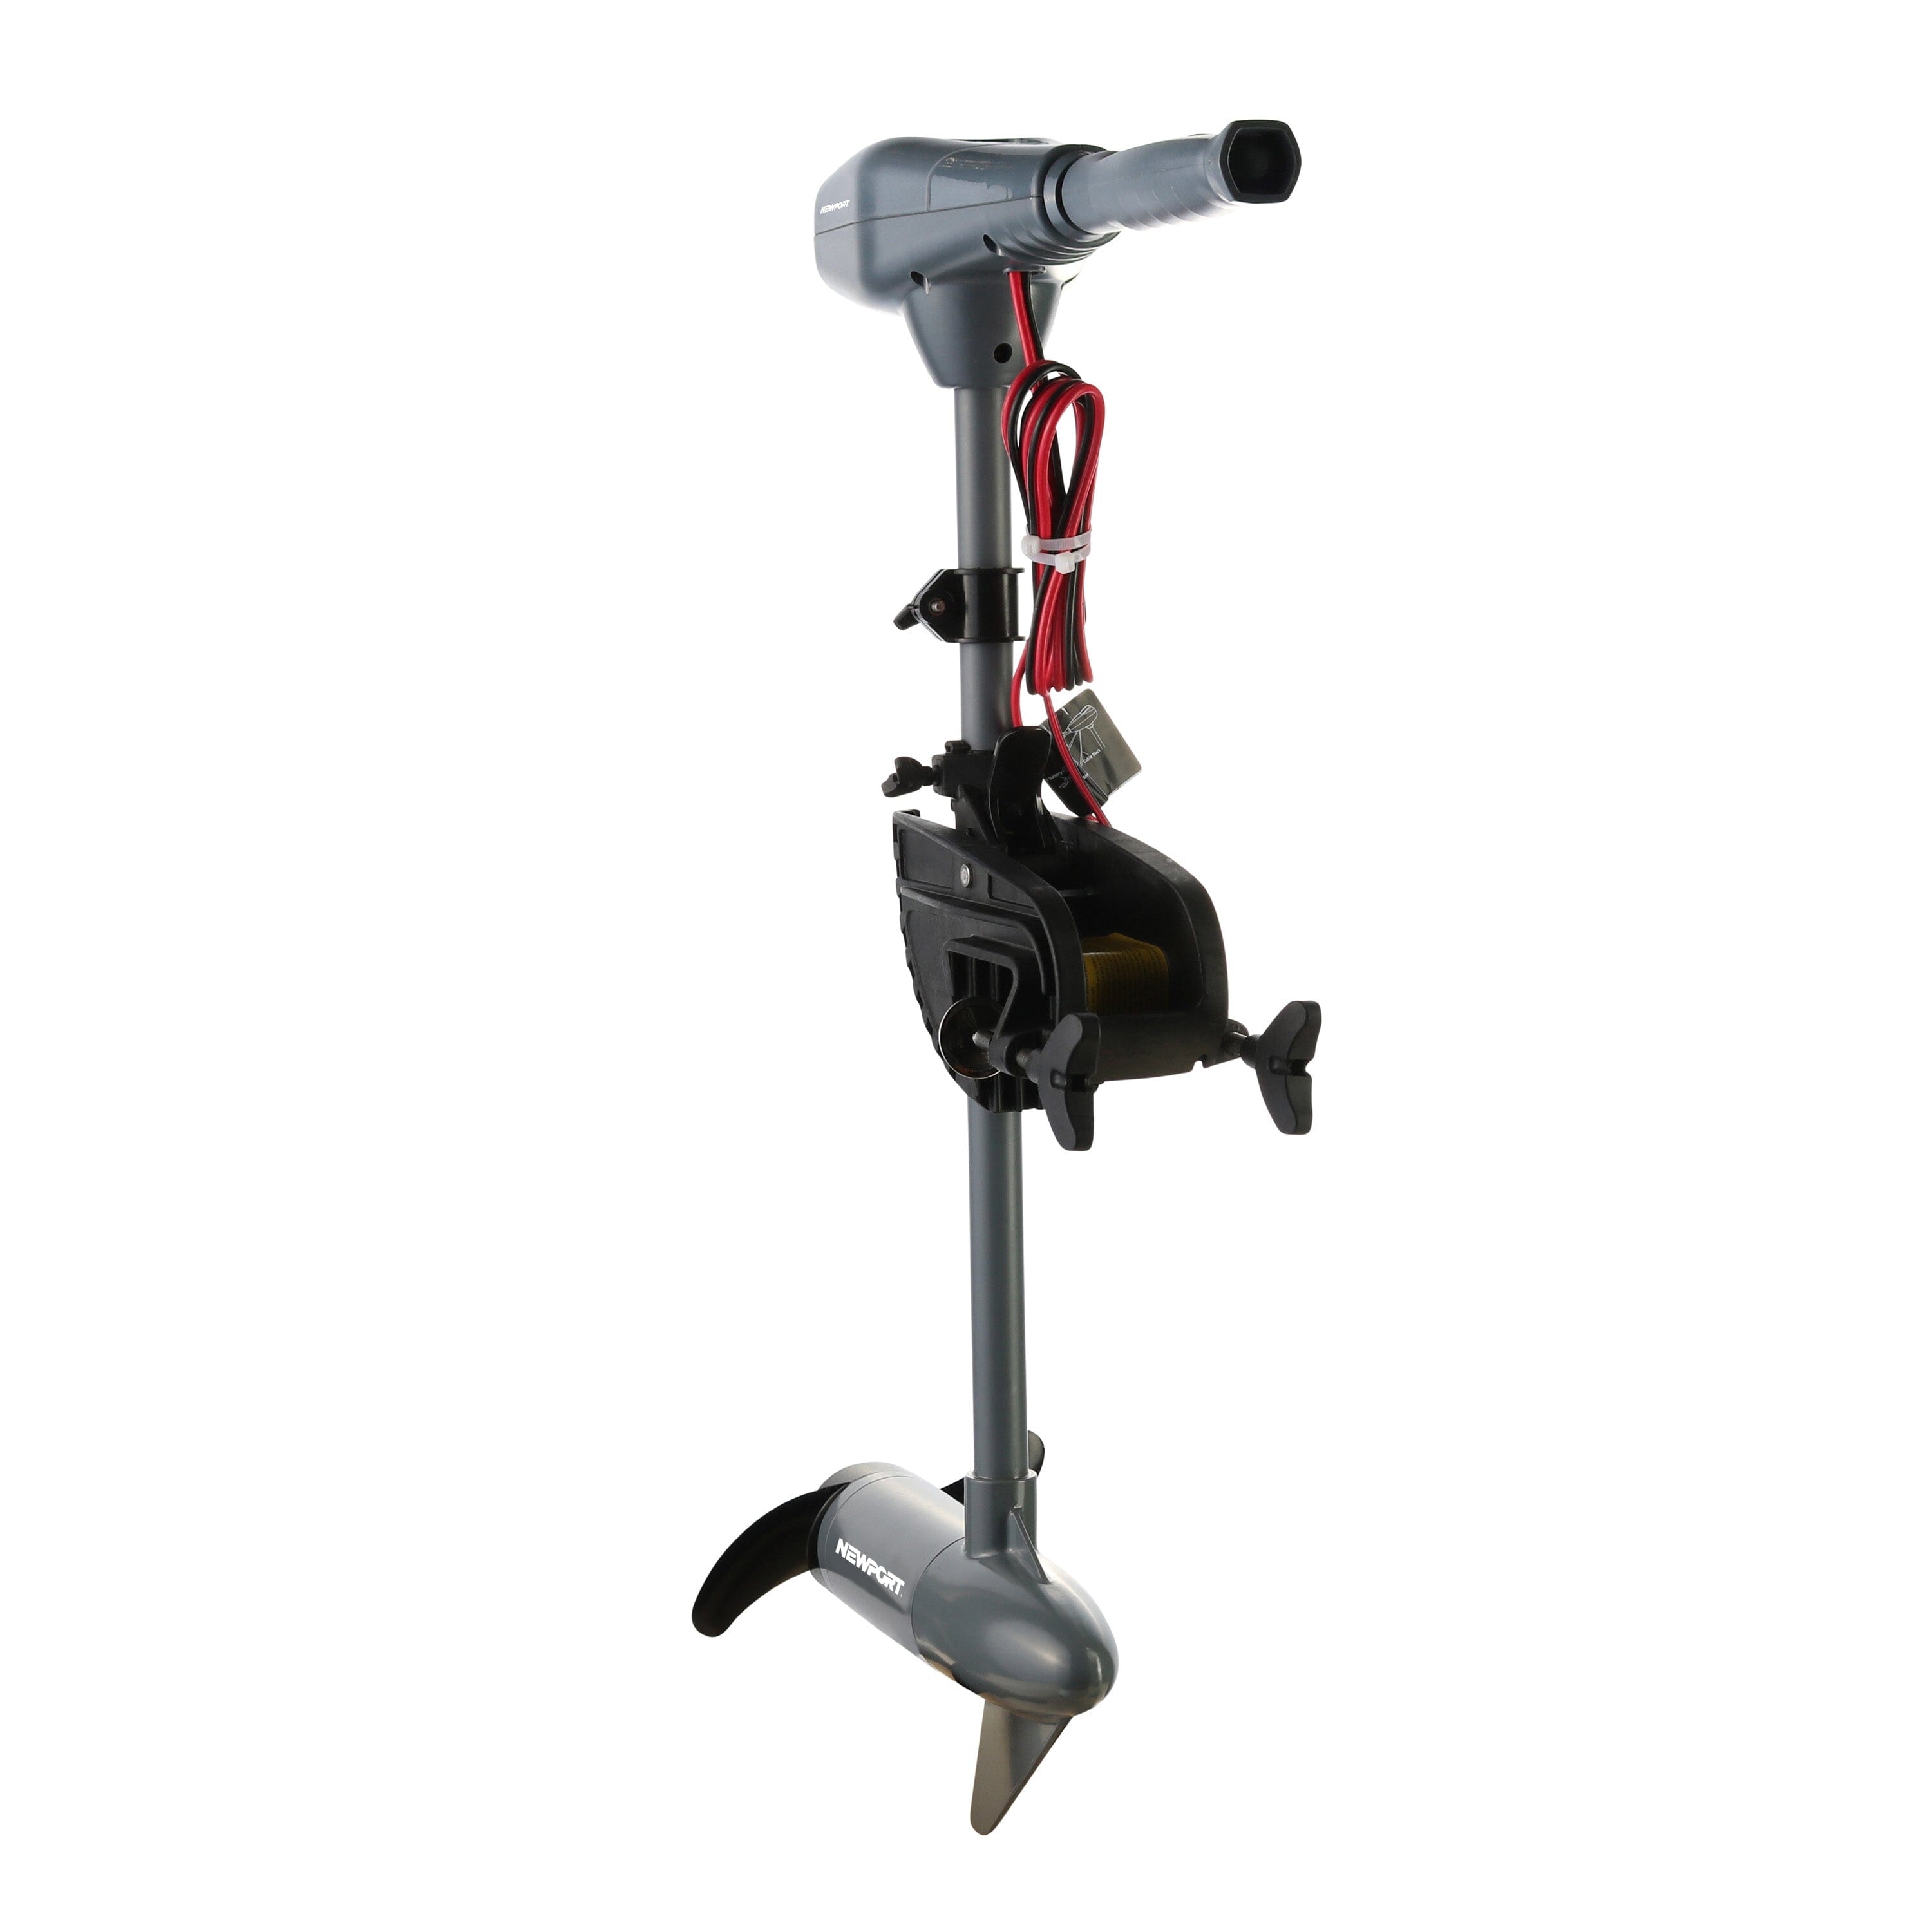
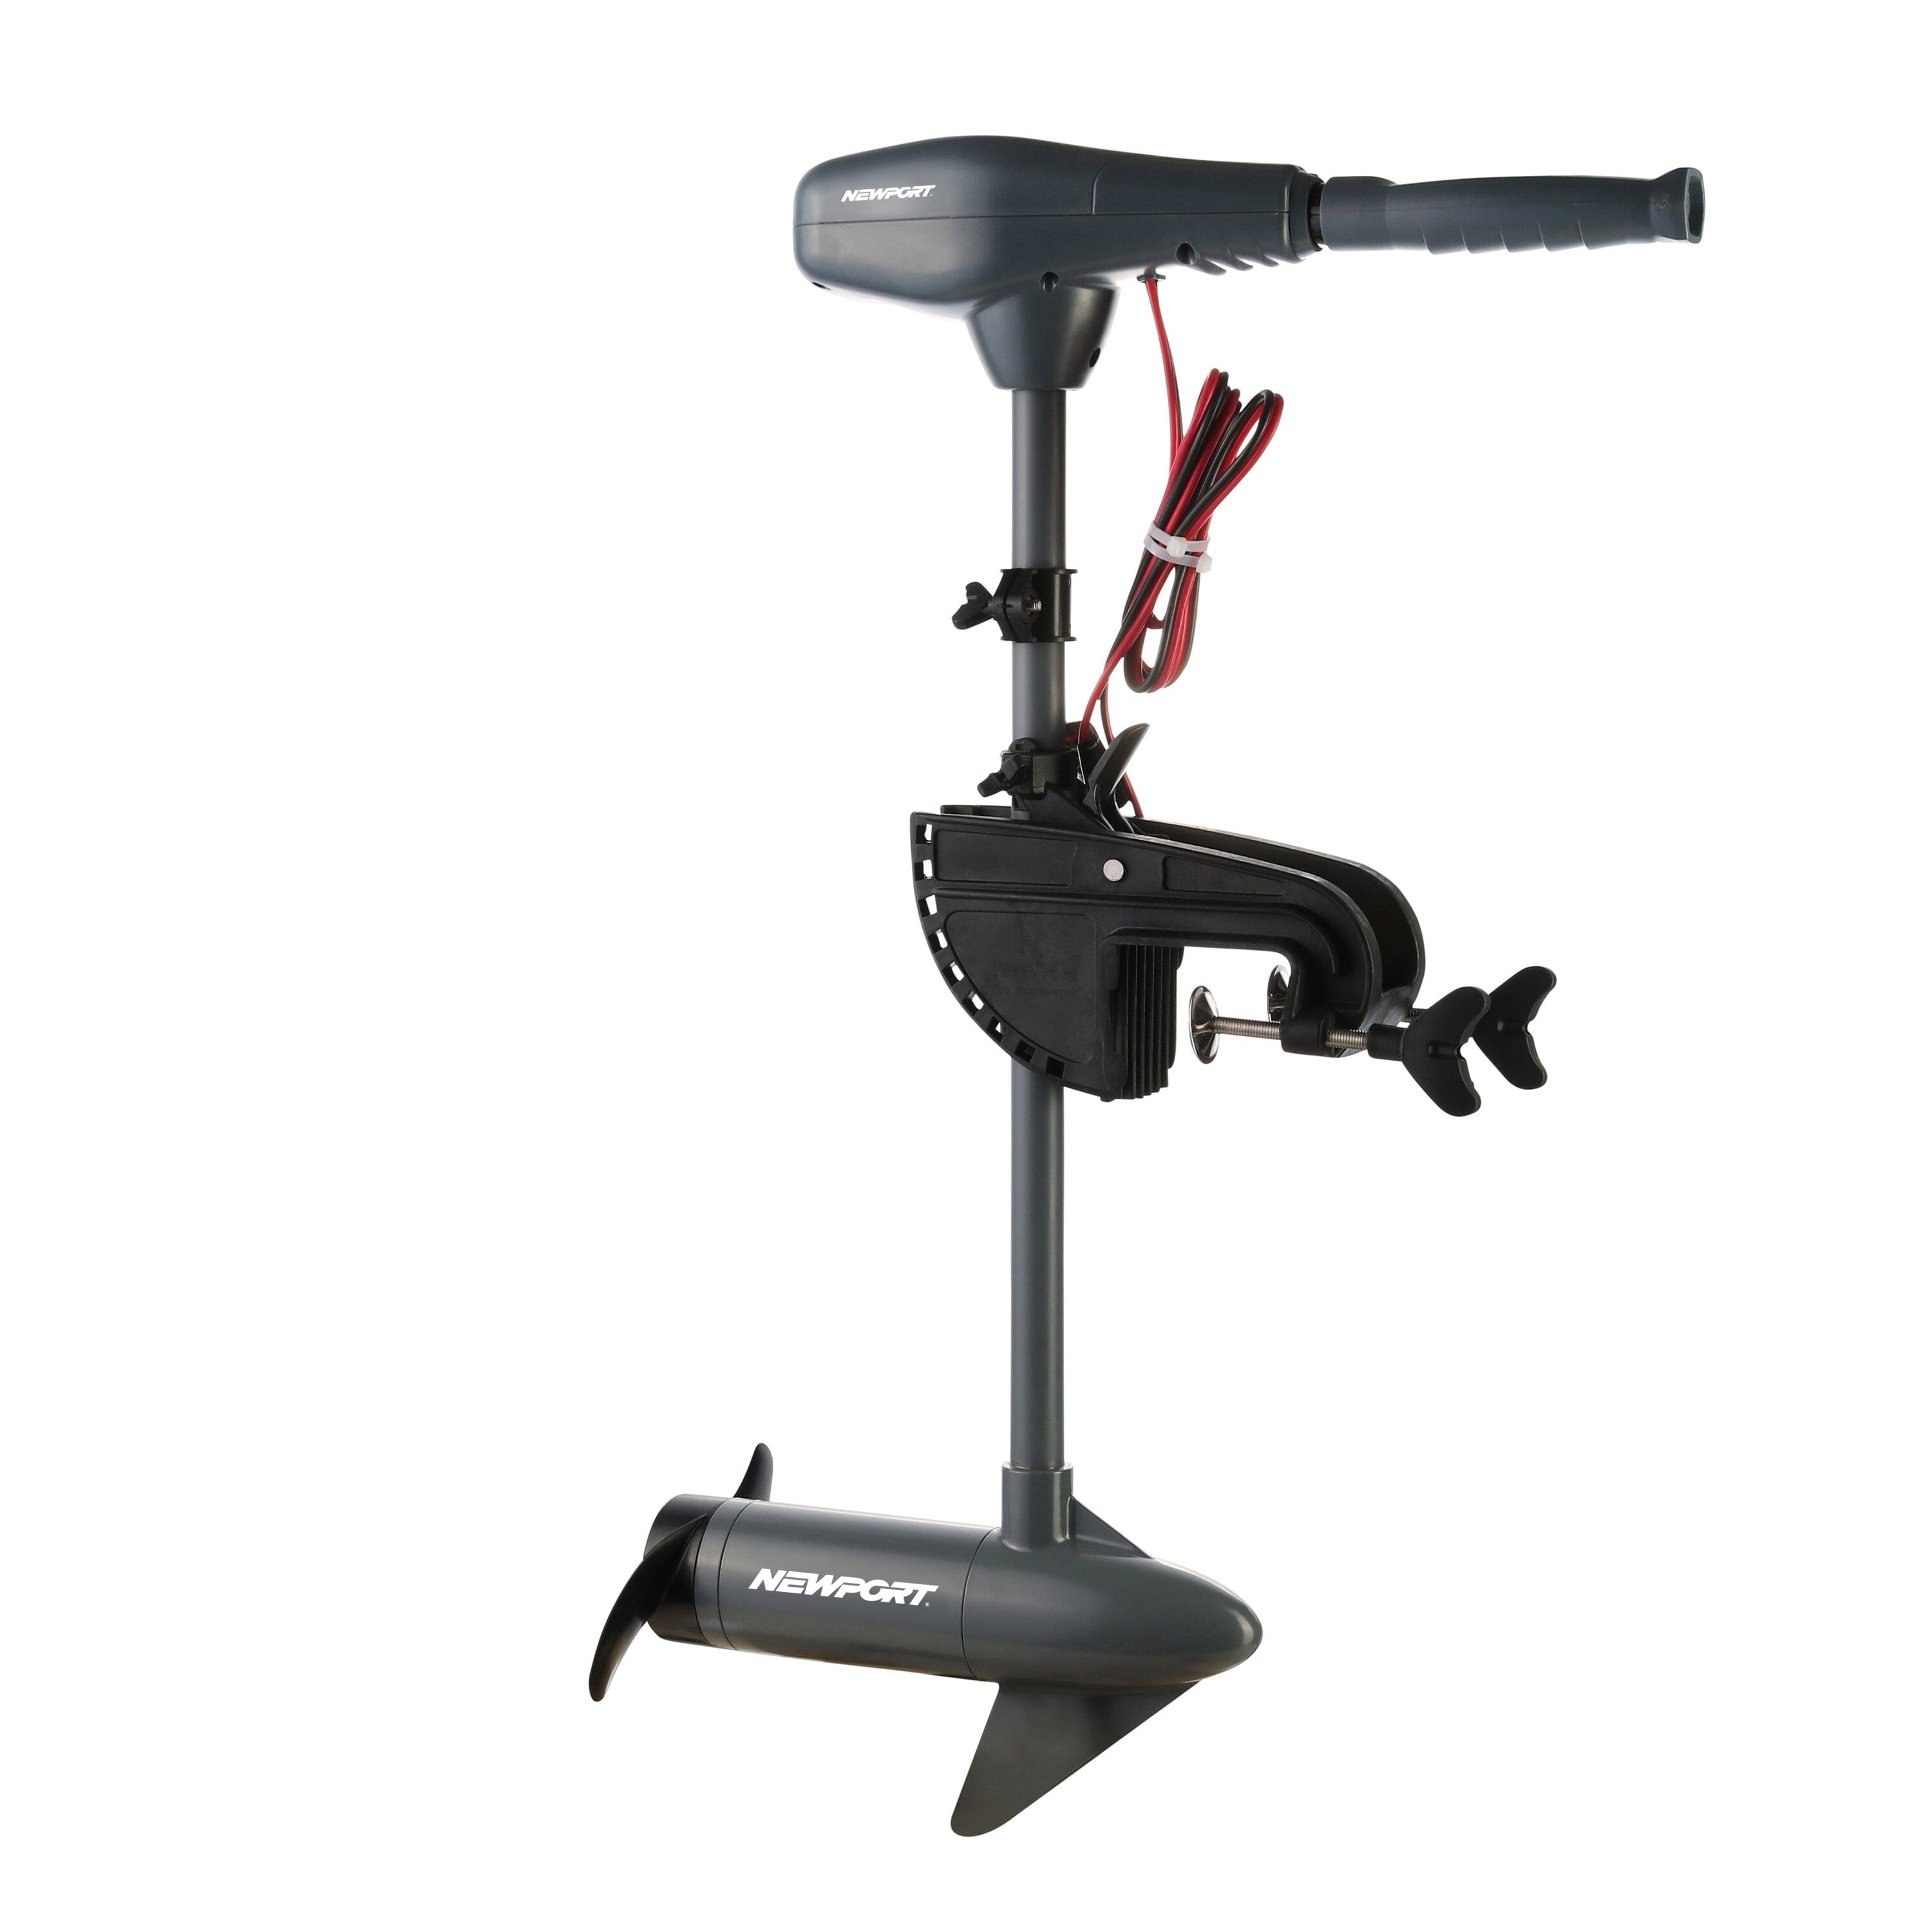
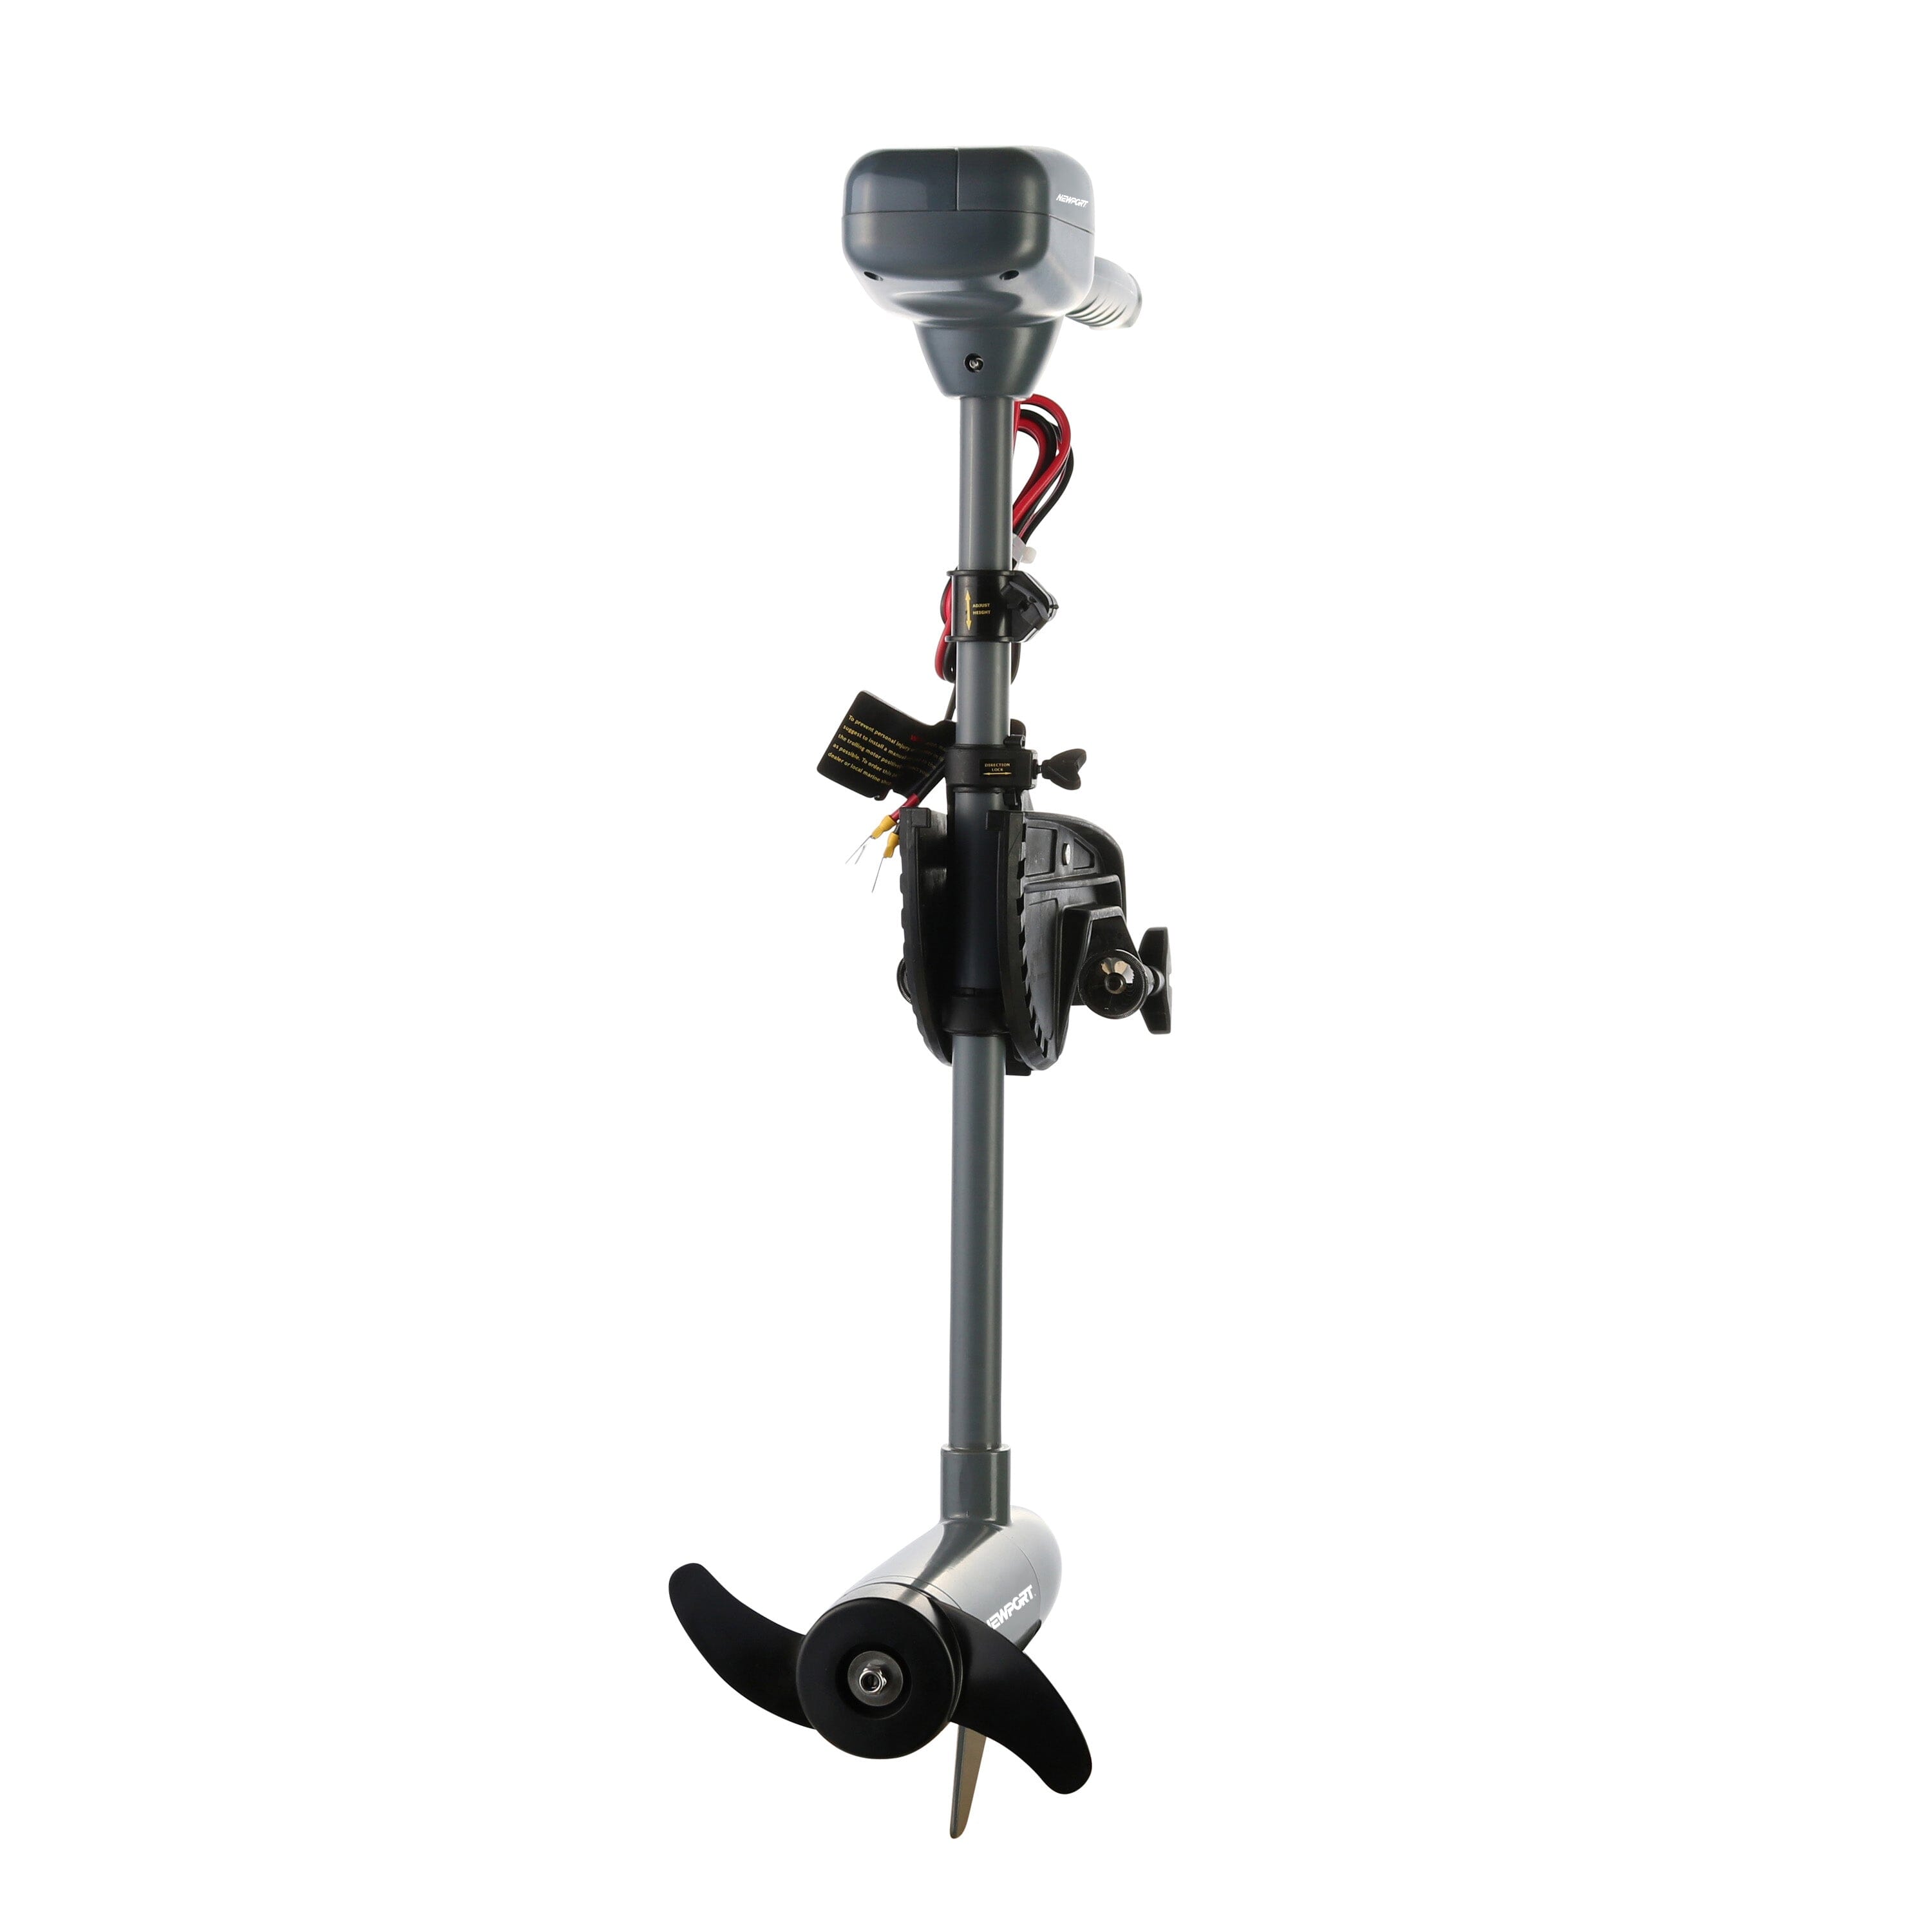
Kayak Series Parts
Owner's Manual


Tech Specs
Unlocking the Potential of Newport
- Thrust Options: 36lb | 55lb
- Shaft Length: 24"
- Tiller/Handle: 6" Telescoping
- Input Voltage:12V DC
- Max Amp Draw: 29A | 52A
- Weight: 18lbs | 23lbs
- External Battery:12V DC
- Propeller: 2 Blade Small (36lb) | 3 Blade Large (55lb)
- Motor:Brushed
- Water Compatibility: Saltwater & Freshwater
- Speeds: 5 Forward | 3 Reverse
- Horsepower Equivalent: 0.48 HP | 0.83 HP
Discover the Superiority of Newport Motors
Compare Motor Models Below
Frequently Asked Questions
You know how they say there’s no such thing as a dumb question? Well, they were wrong, but here are some common not-so-dumb ones