


PROPELLER INSTALLATION GUIDE
*READ INSTRUCTIONS THOROUGHLY BEFORE BEGINNING*
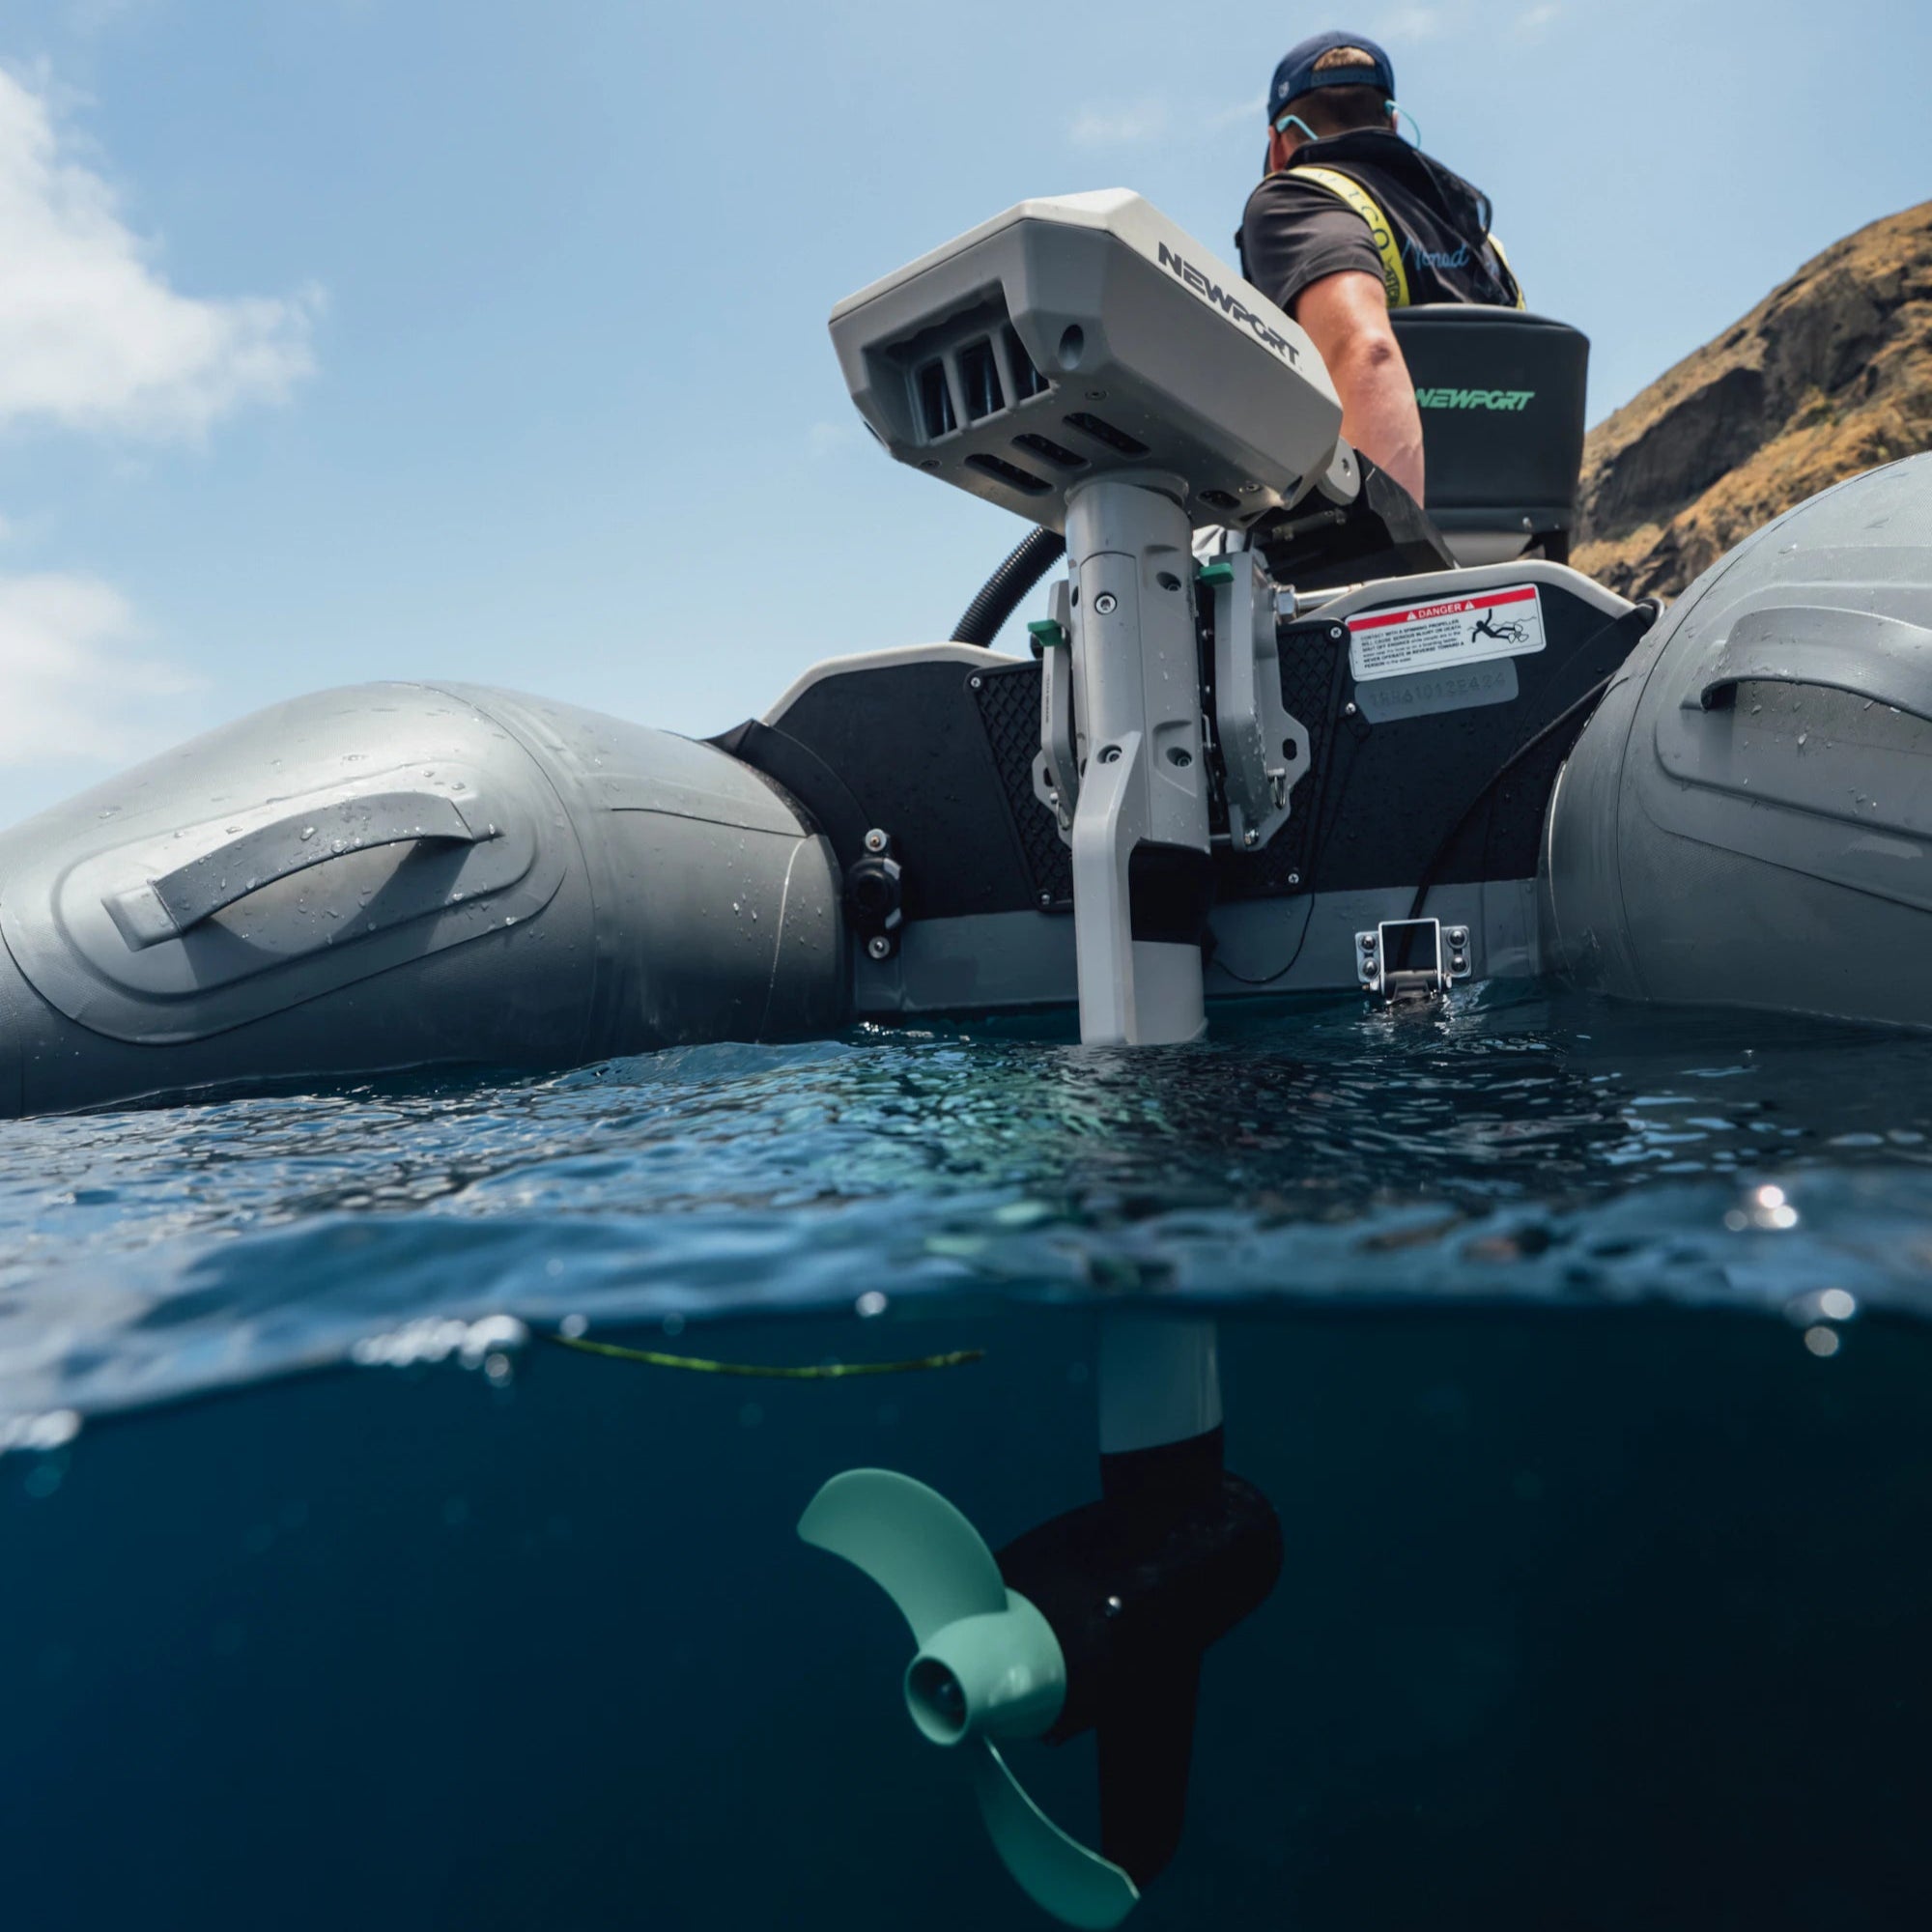
One of the great things about Newport Vessels motors, is that they come almost fully assembled and ready-to-use. The only thing you need to do is install the propeller. Our propeller installation kit comes with 5 different parts: propeller, drive-pin, washer, tightening nut, and wrench. For ease of setup, mount your motor in a secure place where you can easily access the motor head. Below we have a quick installation video as well as written instructions, depending on your preference.
VIDEO INSTRUCTIONS
WRITTEN INSTRUCTIONS


1) Open the propeller installation kit and lay out all the parts
Propeller Installation Kit:
- Propeller
- Drive-pin
- Washer
- Tightening Nut
- Spanner/Wrench


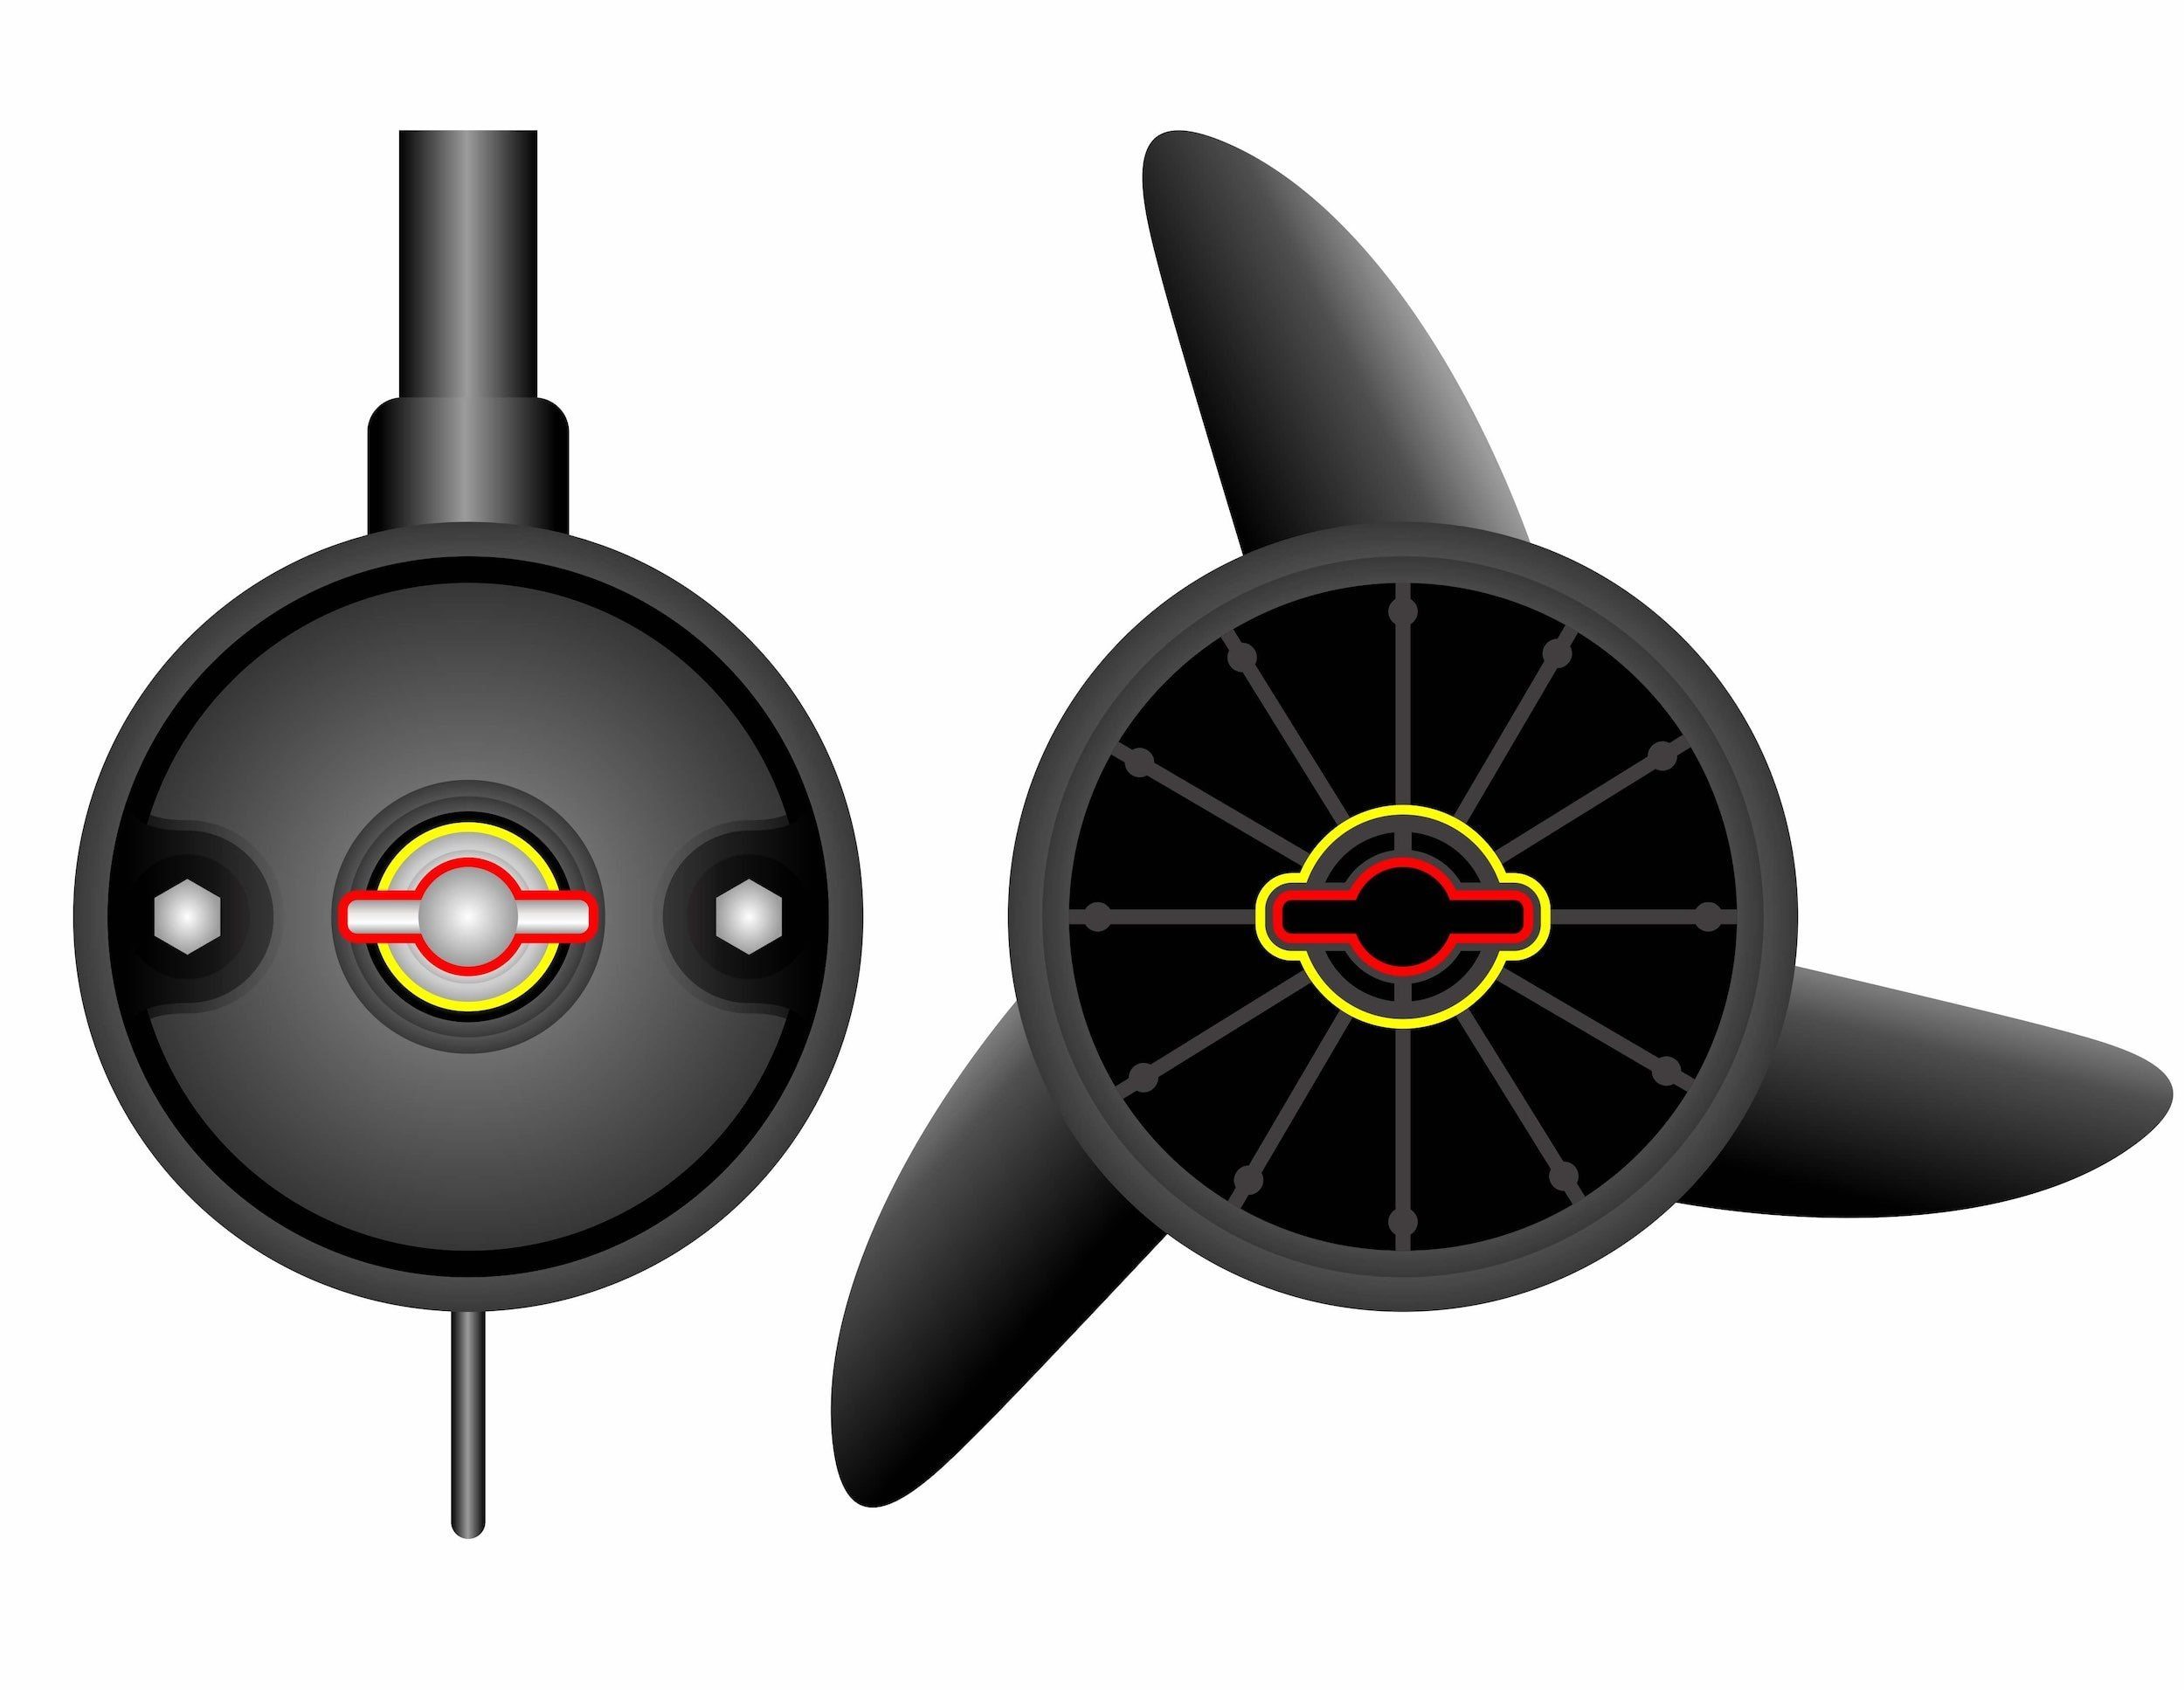
2) Inspect the drive shaft coming from the motor compartment, there will be a small hole drilled through the middle of the shaft. Insert the drive-pin into this opening. Using the drive-pin for leverage, twist the entire shaft so the pin is parallel to the ground; this will prevent the pin from easily falling out during installation.


3) Next, turn over the propeller and inspect the inside. You will notice a slot for the drive-pin to fit into. Slide the propeller onto the armature shaft making sure that the drive-pin and corresponding mold match up. You’ll know if they do, as the propeller will be nearly flush with the motor head. You should only have 1/8th of an inch space between the propeller and the motor compartment. If a larger gap remains, or the propeller seems loose, remove and reinstall with proper alignment.


4) Take the washer from your installation kit, you will notice the washer has two distinctly different sides: a smooth side and an indented side. Place the washer onto the shaft with the smooth side flush against the propeller.


5) Pick up the propeller nut, one side has a silicon seal, this side faces outward. Hand tighten the nut onto the exposed threads, then tighten with the wrench until snug. Caution: do not over tighten! Simply hold the prop steady and tighten the nut until tight. Over-tightening can damage the drive shaft threads, and bend the drive-pin. You can also add loctite or threadlocker to the nut if concerned.


6) Lastly, begin tightening the nut as firmly as you can with your fingers. Once you can no longer tighten with your fingers, tighten with the spanner another ¼ turn. If tightening with your fingers is too difficult to accomplish, you can use one finger to easily twist the spanner as you tighten the nut. Stop tightening once you can no longer use one finger to easily spin the spanner. Then, tighten with the spanner another 1/4 turn.
TIPS:
- If you are testing the motor and the prop is not spinning, you have over tightened the propeller nut.
- You may need to hold the propeller in place so it does not spin while you are tightening the nut.
- There will be some resistance or magnetic drag on the drive shaft when turning the propeller by hand. This is caused by the magnets inside the motor compartment, and is normal for the motor.
- If a part is missing, do not proceed with the installation. Every part is necessary for proper motor function. Please contact us at (866)721-0002 and we will send you a replacement, free of charge!
We hope this guide will make for an easy propeller installation. If you encounter any issues during the installation, don’t hesitate to give us a call at (866)721-0002. We are located in sunny California, our hours of operation are 8:30am - 4:30pm PST.