

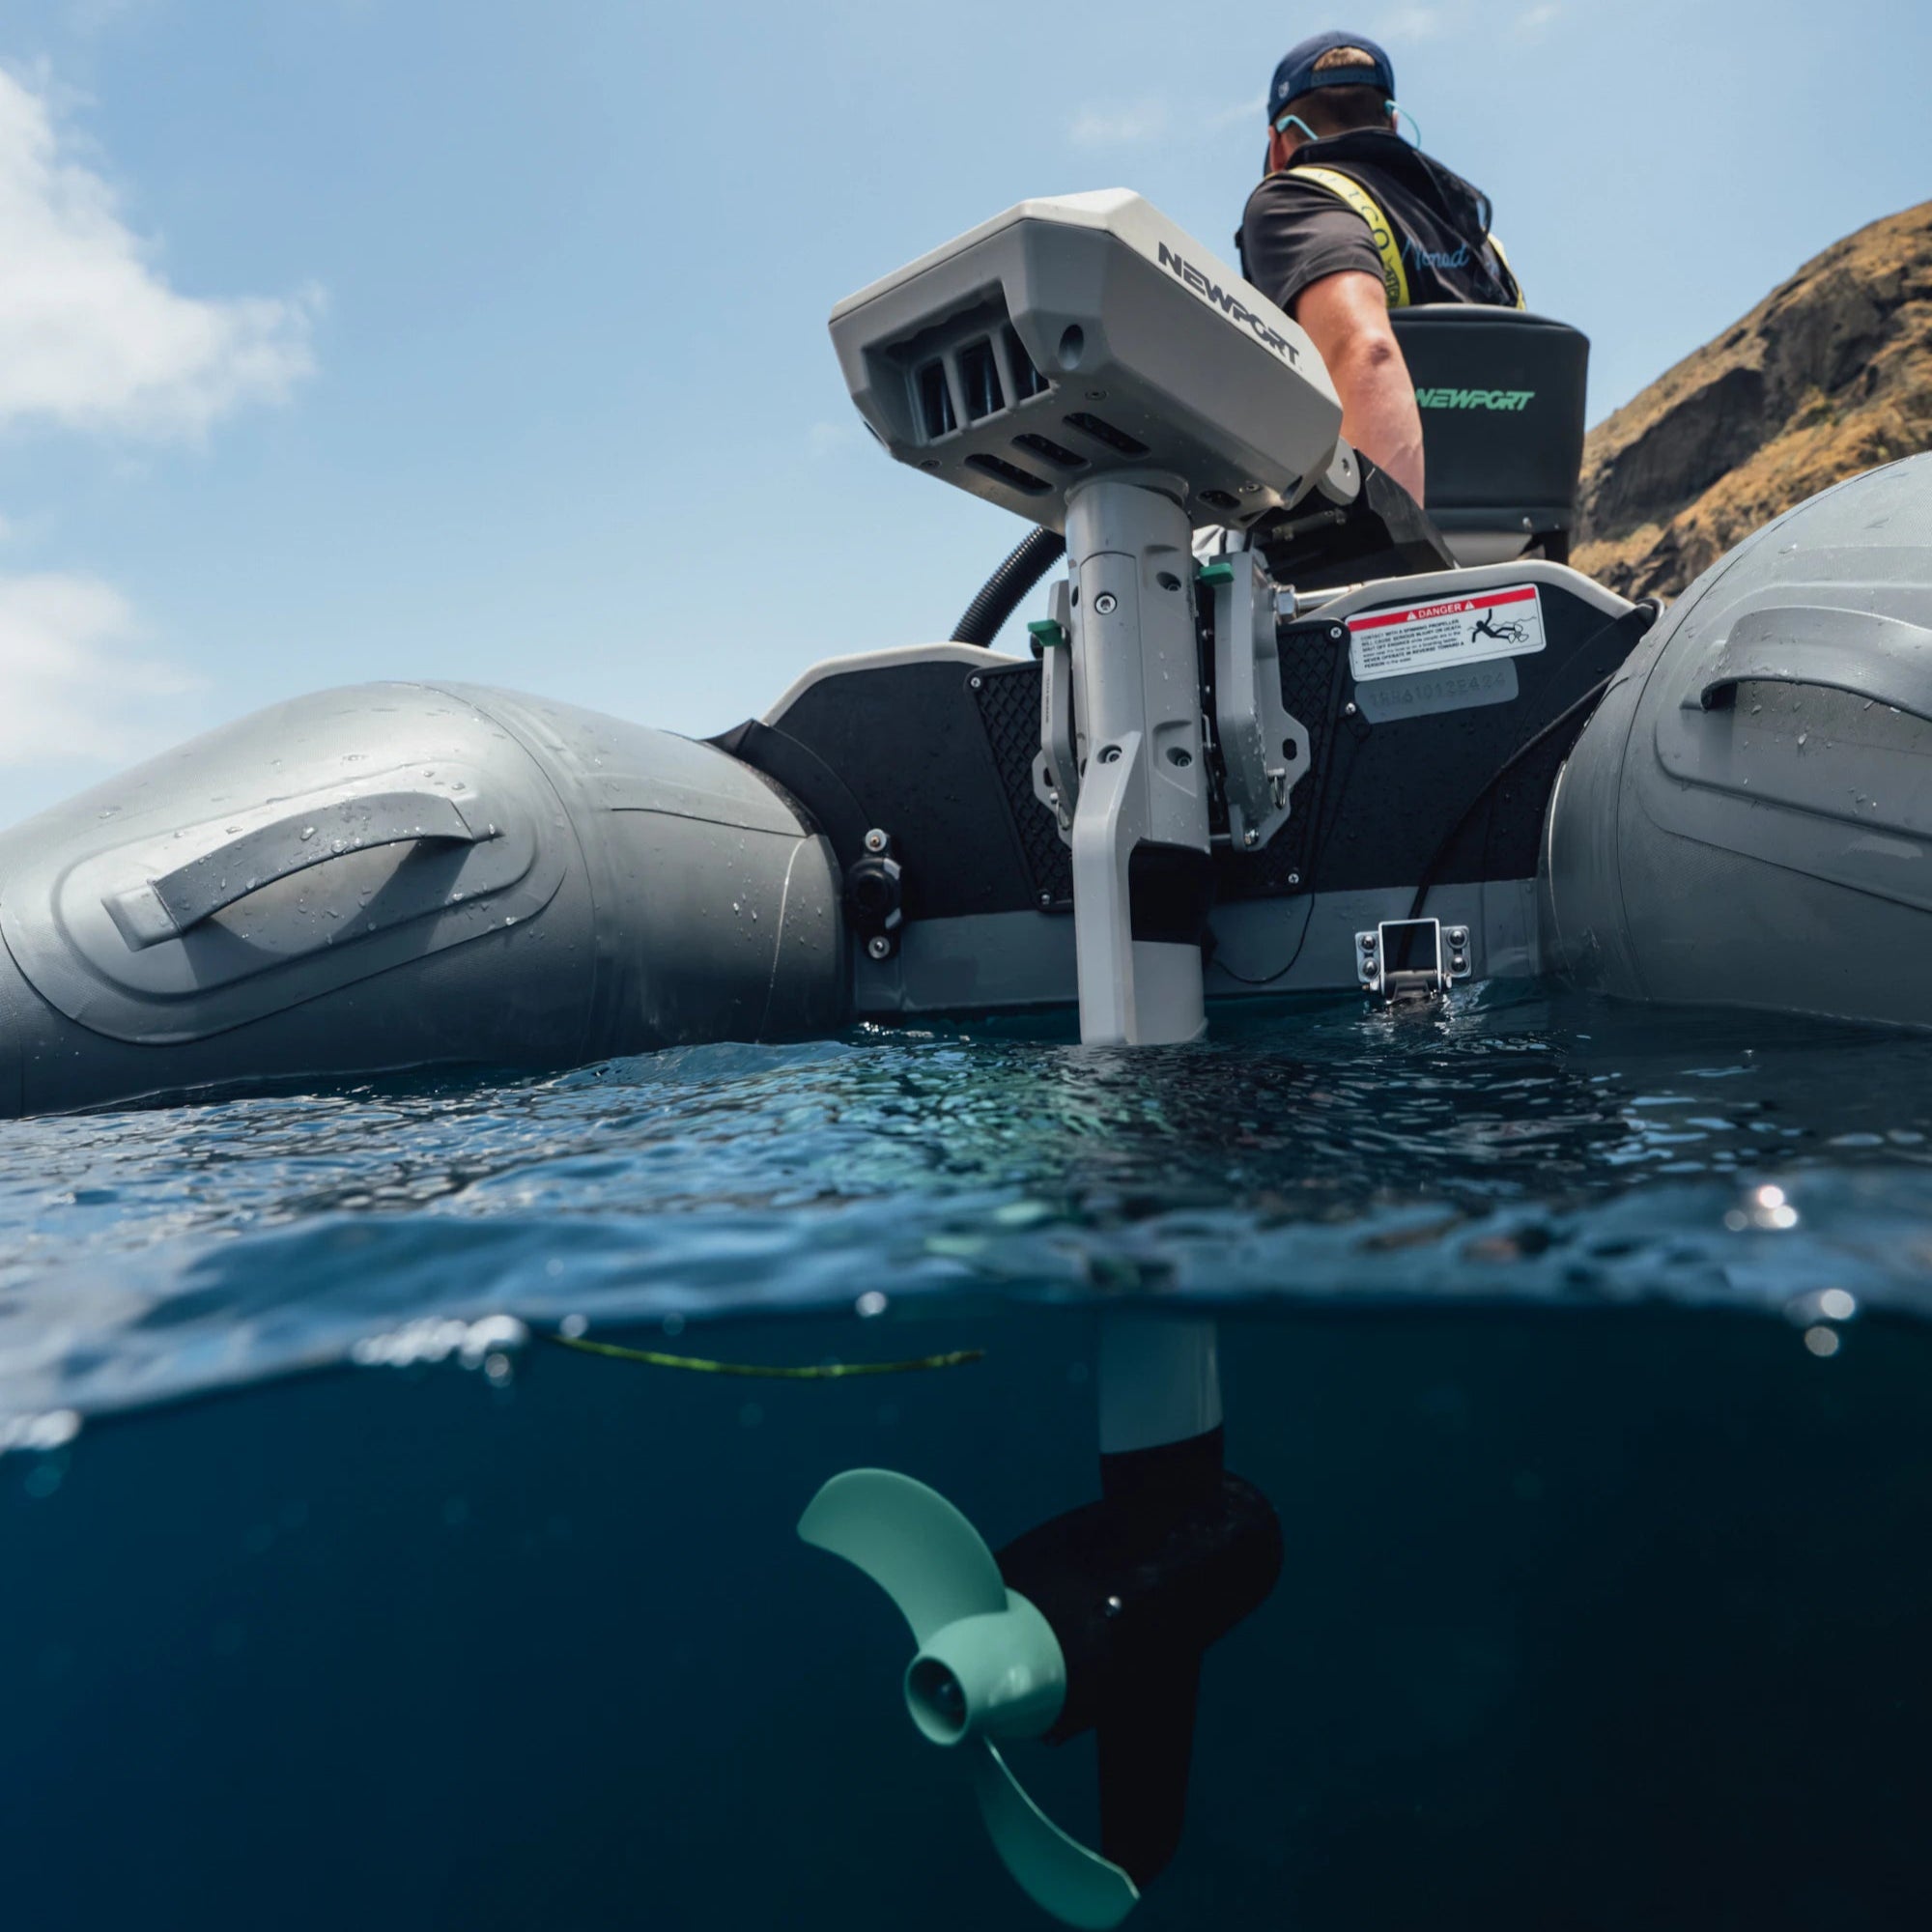


Looking for an affordable trolling motor for your boat? Check out our full line of transom mount saltwater trolling motors to fit any budget.
*READ INSTRUCTIONS THOROUGHLY BEFORE BEGINNING*
1) Make sure the trolling motor throttle is set to “0” and disconnect your motor from the battery. Once the terminal ends are disconnected, the LED display will no longer illuminate. If you have your trolling motor mounted or in an upright position, make sure the height adjustment collar is fastened; this will come in handy later.
2) Begin by using a using Phillips screwdriver to remove the six (6) screws that close the control head of the motor. These screws are located under the control head, and can easily be located visually or by feel. Read next step before removing control head cover.
3) Do not yank or pull the control box cover away! Carefully lift off the control box cover to not break the LED wiring. A small wire links the LED lights on the top of the control head to the cables inside the motor, disconnect this by pressing on the clip located on the side and gently remove the connector. Set the cover aside.
4) You can now begin to remove the control switch. For more information and instructions on how to do this, please see our Switch Replacement Guide.
5) After the switch is removed, you can also remove the handle with switch and find the opening to the shaft tube located underneath. Look through the opening and identify the threaded screw with wires surrounding it.
6) Underneath where the trolling motor leads exit the control head, you will find the screw you need to temporarily remove. Remove this screw, for more detail, see our Transom To Bow Mount Guide.

-
7) Next, you will need to remove the zip tie that is holding the switch wires together and separate the battery cables from them. Take a picture of the wire placement to make installation easier. You can then remove the bottom half of the control head. Keep the battery leads with the bottom control head, you will not need to remove them completely.

-
8) If you have the motor mounted, the height adjustment collar is the only thing saving your motor from crashing to the ground. The easiest solution would be to lay the motor sideways to finish removing the transom bracket.
-


-
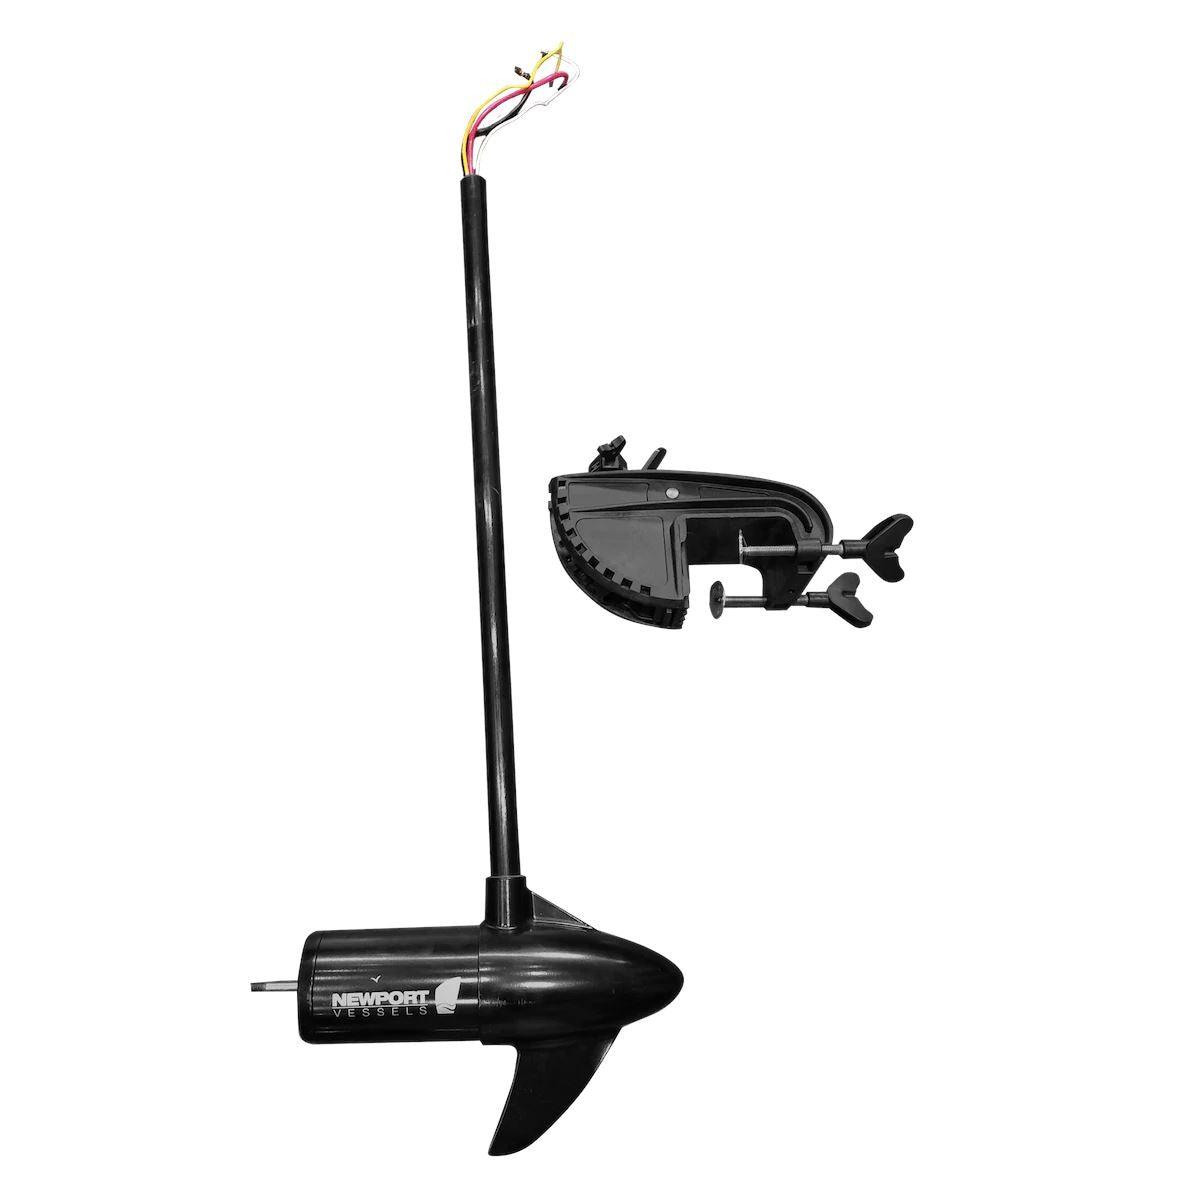
9) Loosen the height adjustment collar and the directional lock to allow the transom bracket to slide off the shaft completely. You have successfully removed the transom bracket.

-
10) To reinstall bracket, collect wires together by hand or in rubber band, feed them through transom bracket. Once the shaft is all the way through, slide height adjustment collar over the wires and onto the shaft. Fasten the collar to hold the shaft and motor securely.


-
11) Begin reinstalling the bottom half of the control head onto the shaft by feeding the switch wires through the bottom. You can now reinstall the screw with tightening nut to connect the shaft to the control head. Check that the wires are not in the way of the screw path and that the control head is facing away from the propeller.
12) Using your picture from earlier, place the switch wires in their designated spots. To install a replacement switch, refer to the Switch Replacement Guide.
IMPORTANT
-
If the top does not fit securely, check to make sure there are no obstructions, this is common where the top cover and control head moldings meet.
-
Wires can also interfere with the screw housings that connect the two halves together.
-
Also, make sure that none of the wires are being pinched when reassembled.
If you need assistance during this process or have any questions, please give us a call at (866) 721-0002! Our hours are Mon-Fri, 8:30am-4:30pm Pacific Standard Time.