TRANSOM TO BOW MOUNT GUIDE
*READ INSTRUCTIONS THOROUGHLY BEFORE BEGINNING. These instructions are not a guarantee and customer takes responsibility for any damage that occurs when making this modification*
1) Set the trolling motor throttle to “0”, and disconnect your motor from the battery. Once the terminal ends are disconnected, the LED display will no longer illuminate.
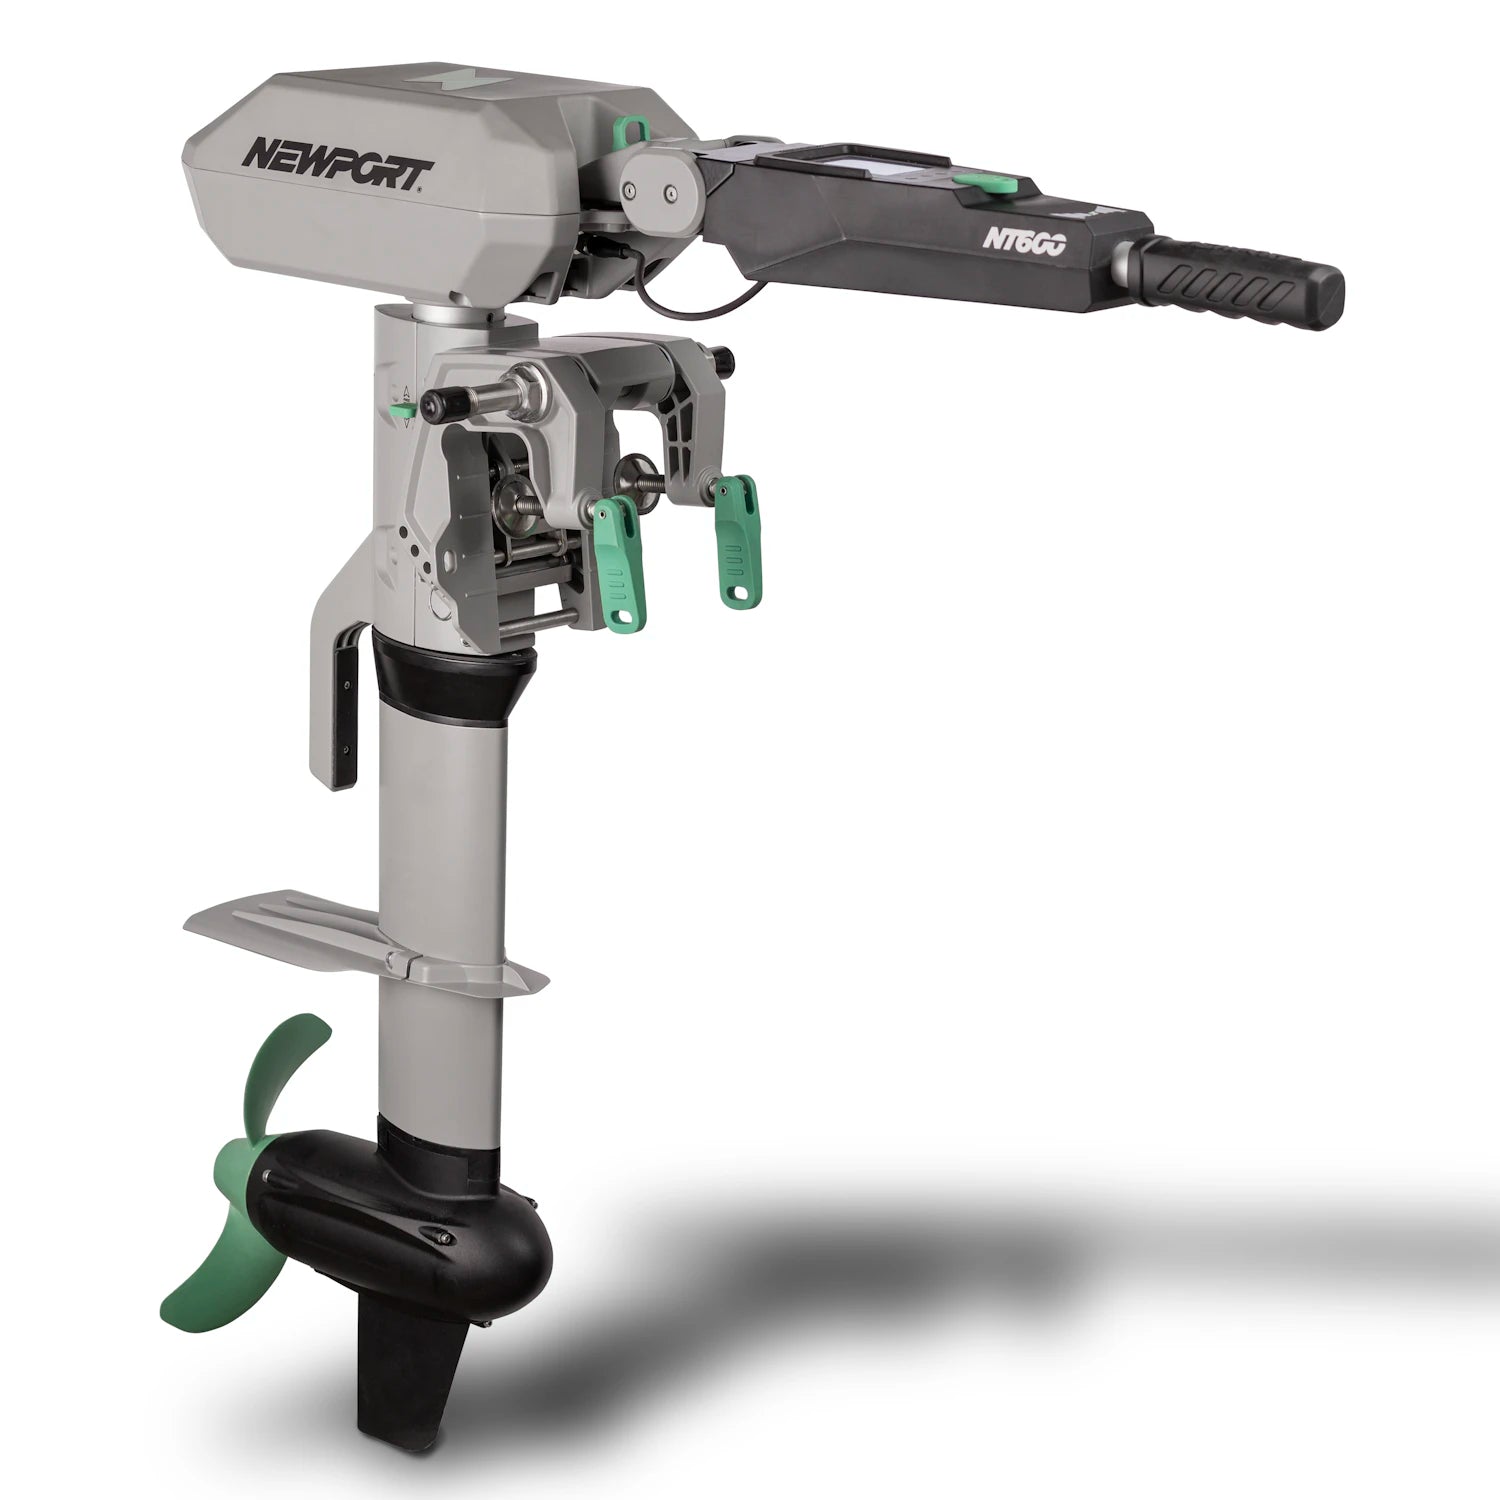
2) Motor should be mounted on a stand/ table to keep it vertical during this process. Keeping the motor upright will make disassembly and reassembly easier. Use a Phillips screwdriver to remove the six (6) screws that close the control head of the motor. These screws are located under the control head, and can be located visually or by feel.


(3 on both sides of the control head of the motor)
3) Do not yank or pull the control box cover away! Carefully lift the control box cover off to not break the LED wiring. A thin wire links the LED lights on the top of the control head to the cables inside the motor, disconnect this by pressing on the clip located on the side and gently remove the connector. Set the control box cover aside. IT IS VERY IMPORTANT THAT YOU DO NOT EXTEND THE HANDLE WHEN THE HEAD IS OPEN. Important parts that allow handle extension can become lost if handle is extended.

4) Find the opening to the shaft tube located underneath the handle assembly. Look through the opening and identify the threaded screw with wires surrounding it. This will be the screw you remove.


5) Underneath where the trolling motor leads exit the control head, you will find the screw you need to temporarily remove. Begin removing this screw. While removing, check the wires at the opening of the shaft to make sure the threads of the screw do not damage them.


6) After removing the screw, locate the metal nut in the backside of the screw moldings, where the screw was threaded. Remove this piece and save it for the next step.

7) You may now turn the head around 180° so the handle and the propeller are on the same side and begin reinstalling the screw. Check the wires are not in the path of the screw. This could cause damage to the wiring, and impact motor performance.

8) When the wires are clear, place the nut on the opposite end of the screw molding so it can be threaded onto the screw. Make sure to tighten the nut and screw until it is secure.
9) Reconnect the LED wires, fit the control box cover and reinstall the six (6) screws underneath.

- If the top does not fit securely, check to make sure there are no obstructions such as stray wires, this is common where the top cover and control head moldings meet.
- Make sure that none of the wires are being pinched when reassembled.
- If you plan on switching back and forth between transom and bow mount, keep the same direction that you turn the head consistent. This will keep the wires from getting twisted and possibly damaged.


