

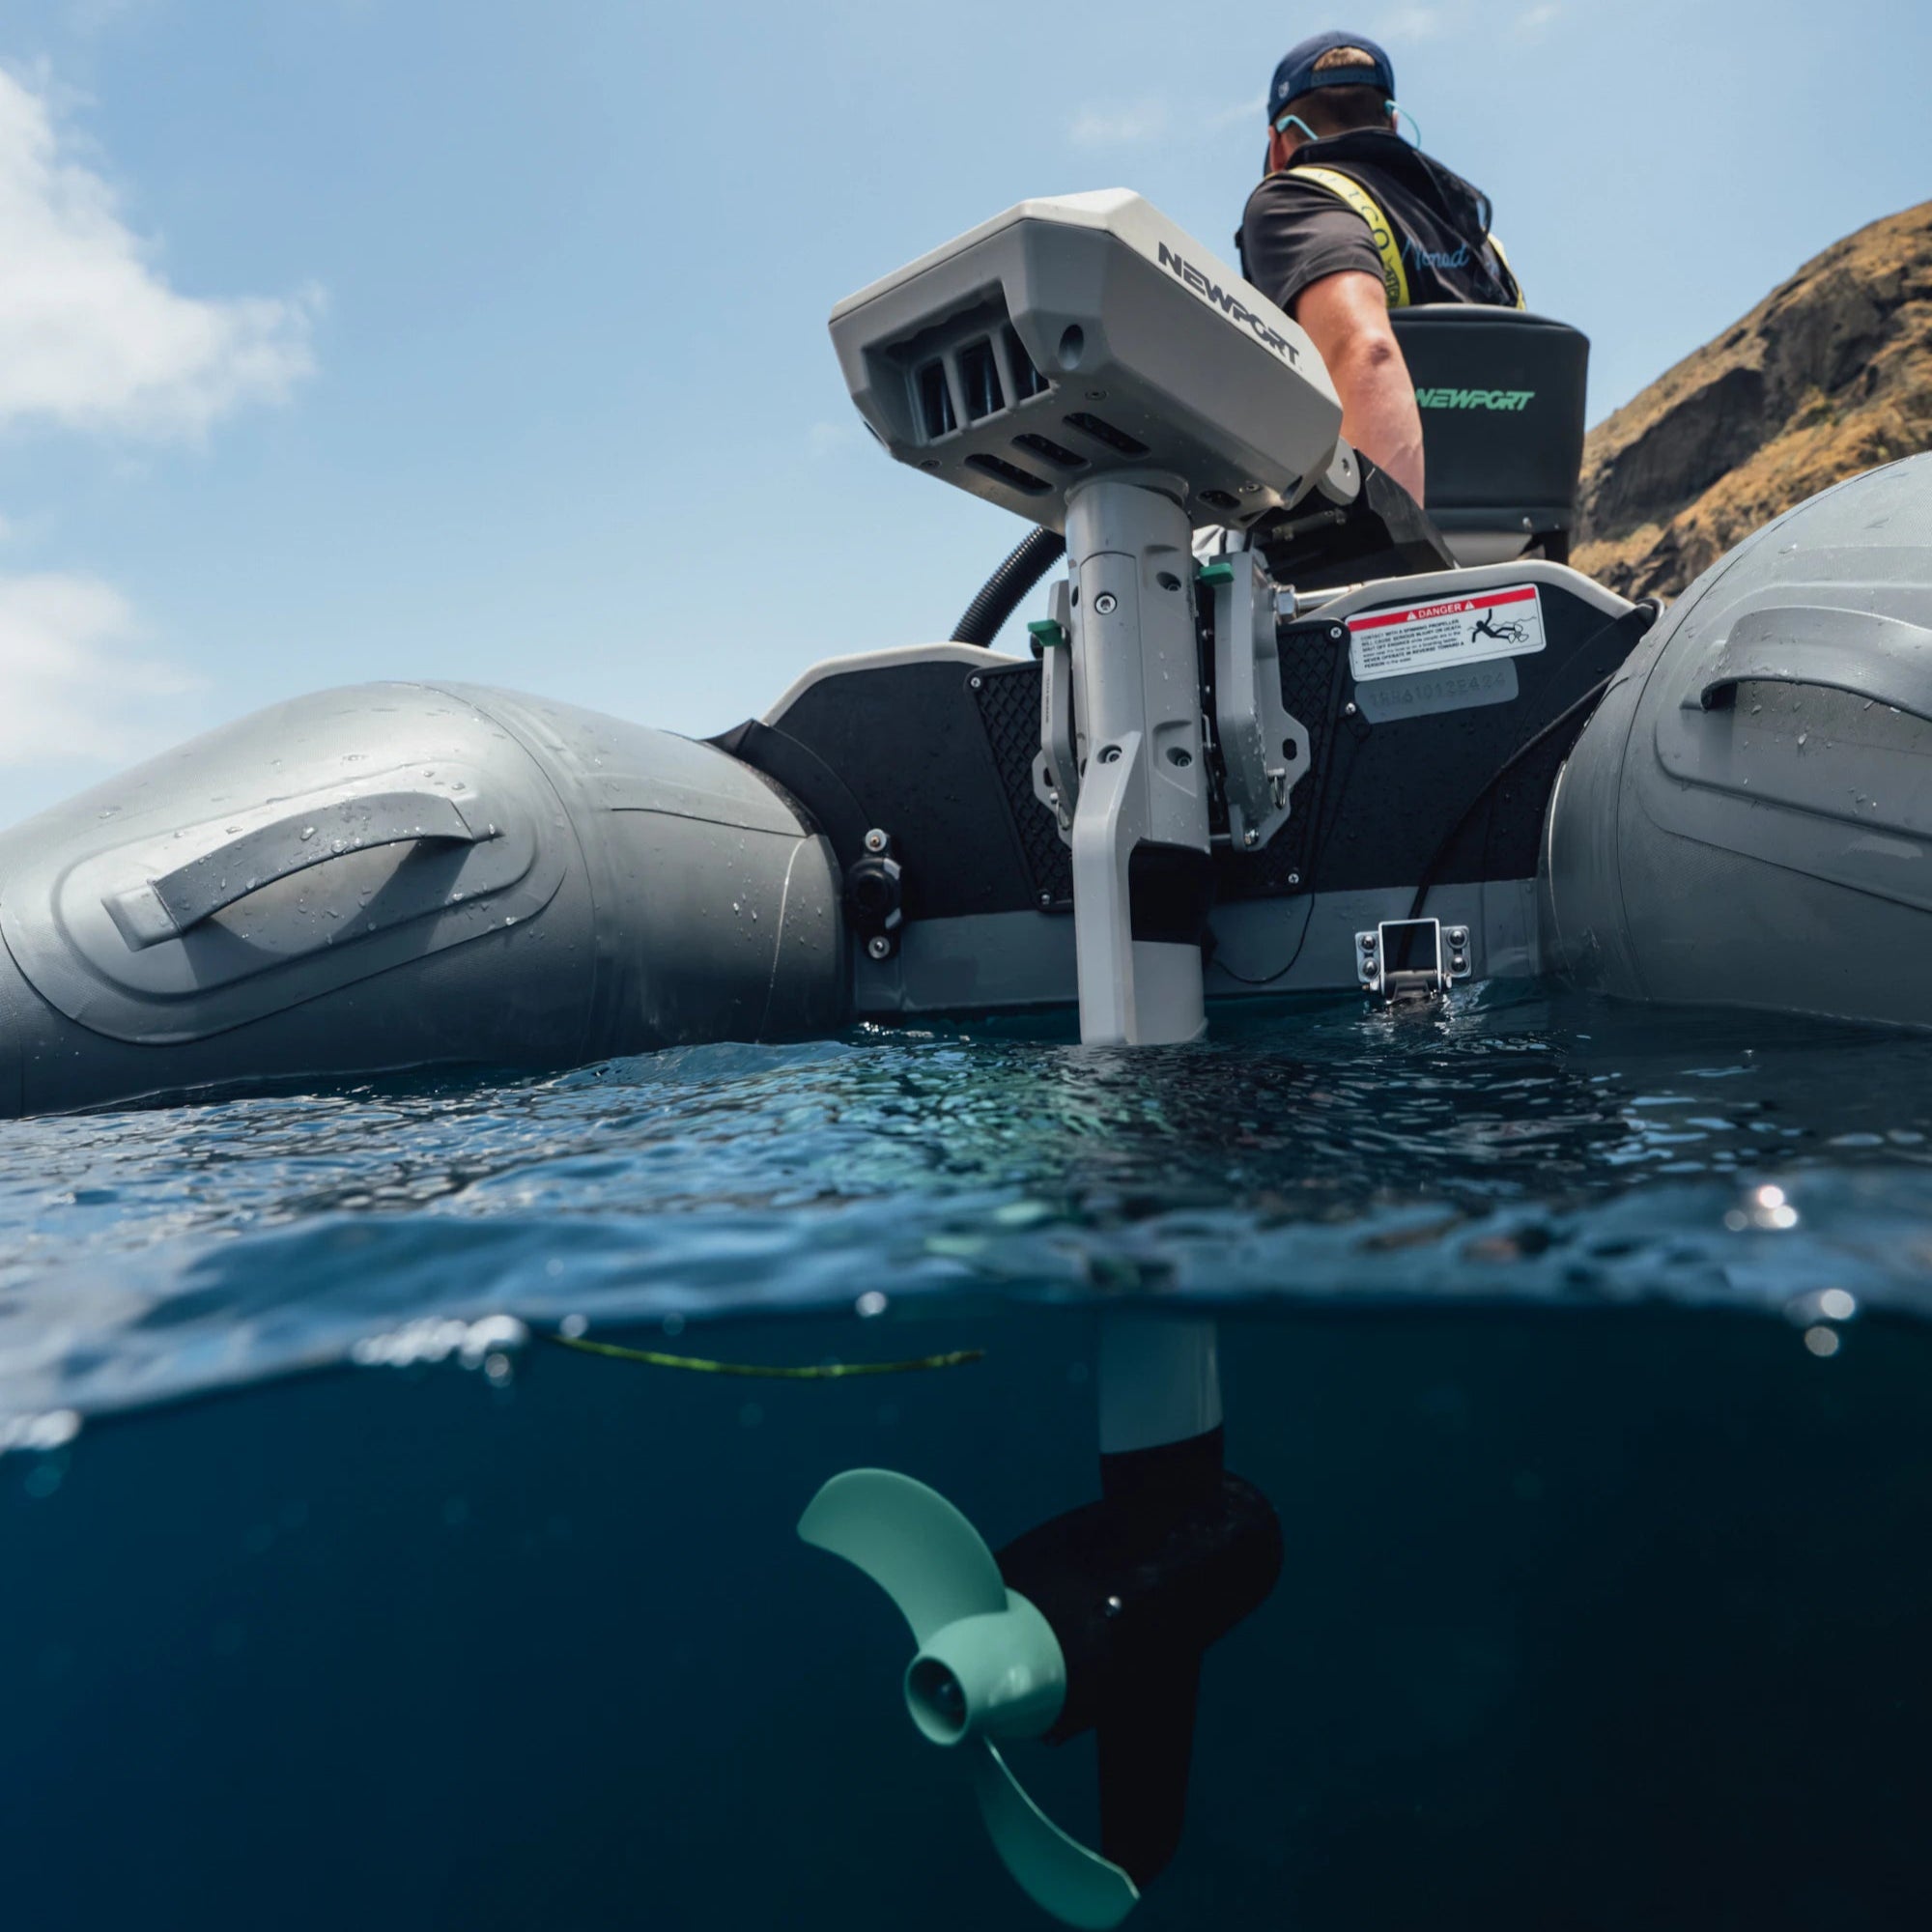

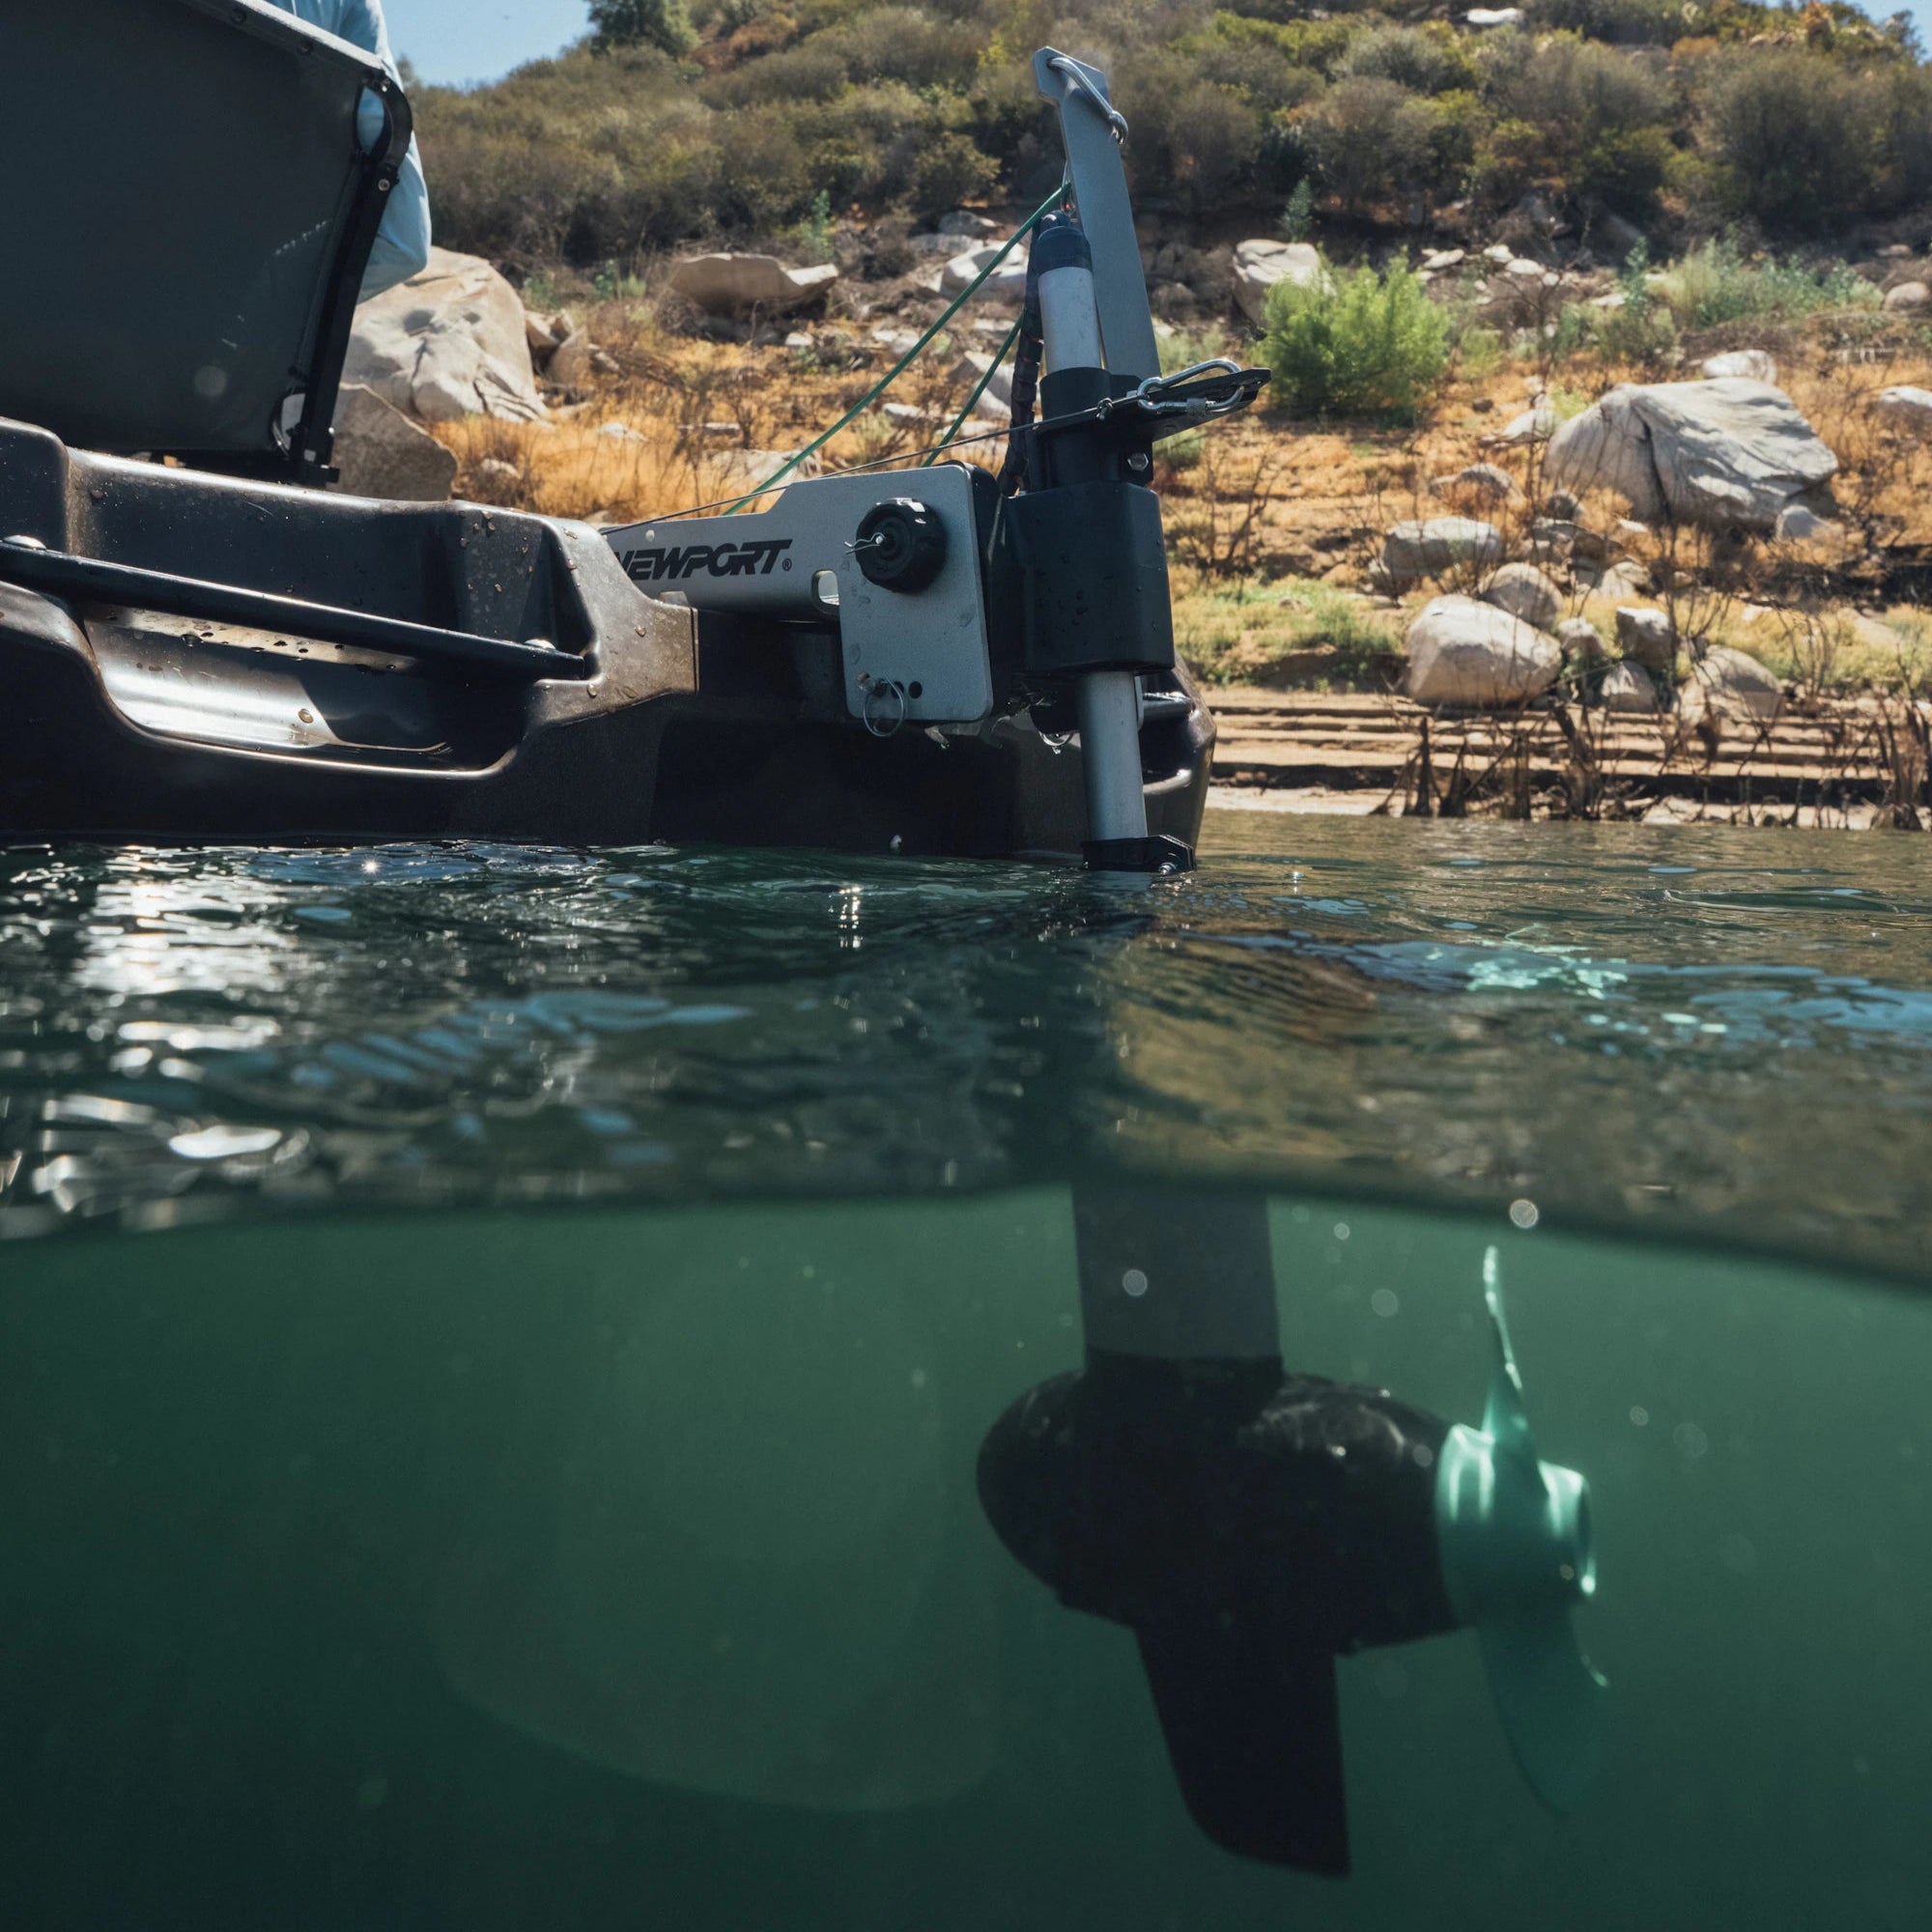


TROLLING MOTOR WIRING OVERVIEW
Adding a trolling motor to your boat is an easy process with the right tools.
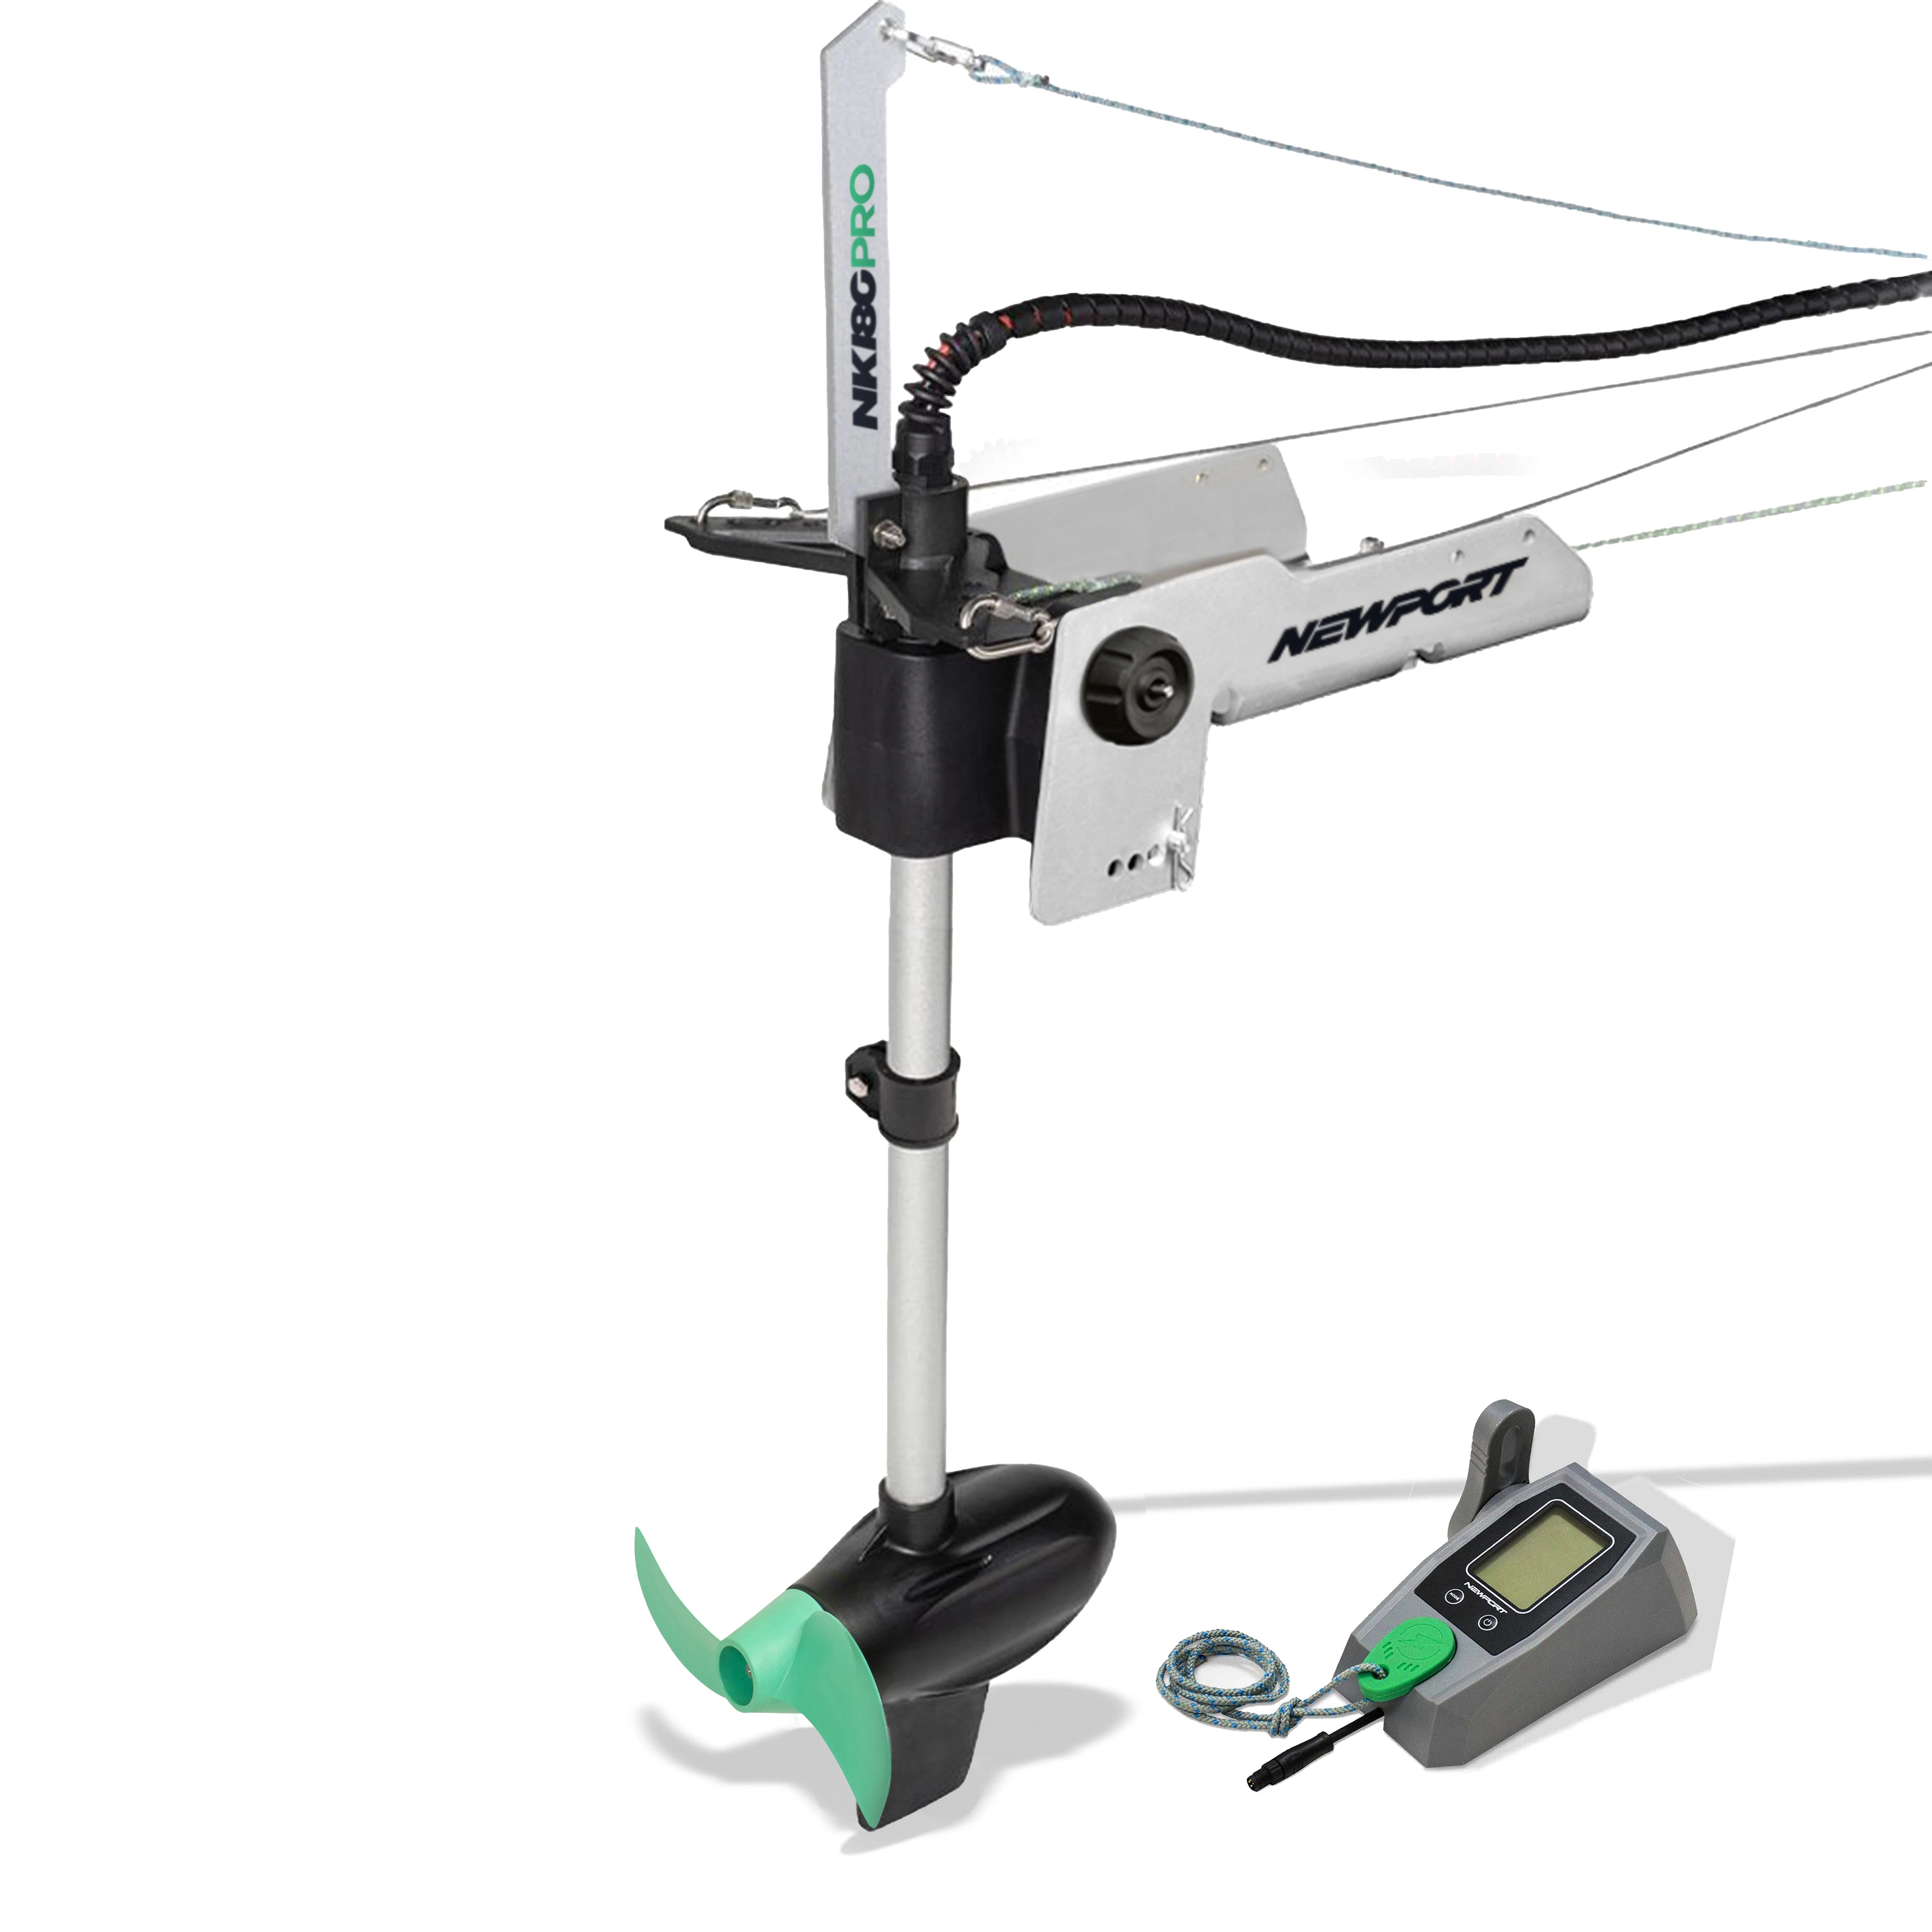
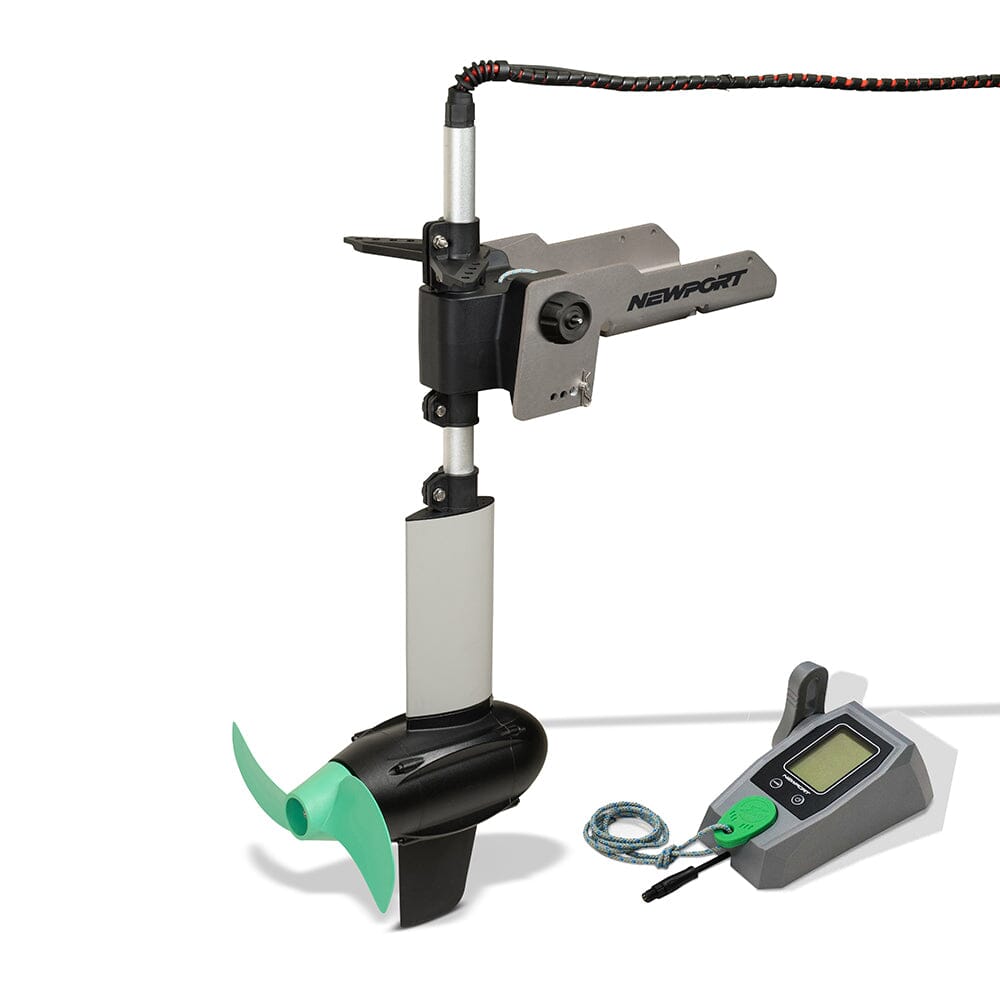
ITEMS INCLUDED IN YOUR TROLLING MOTOR:
- Trolling motor and the control handle.
- Power Cables with terminal end connectors for the battery.
- Circuit Breaker: Helps protect the electrical components in your trolling motor. It will cut off the power automatically to the trolling motor when there is added resistance on the propeller (weeds tangled, stuck in rocks, fishing lines, etc).


EQUIPMENT REQUIRED:
- Battery or Batteries: Depending on the motor, you may need one or two 12V batteries. The voltage required by your trolling motor will help dictate this. This information can be found on the product page or in it's respective Owner's Manual.
- Terminal Ends: This is attributed to which battery or battery box you have. Depending on the battery, you may need battery connectors or clips.
- Battery Charger: In order to recharge your battery after trolling motor use.
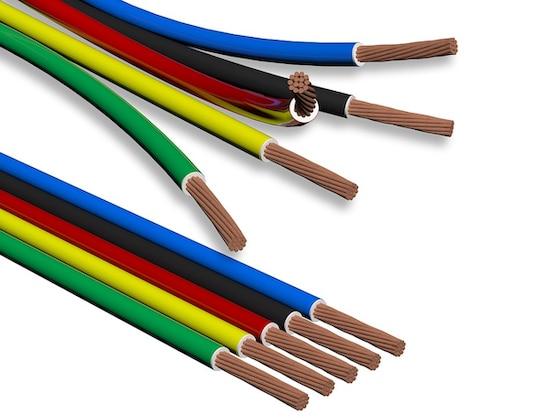
- Jumper Wire: For multiple batteries, shorter wires are needed to connect them in series. Using the same gauge wire found in your trolling motor is recommended.


RECOMMENDED EQUIPMENT:
- Trolling Motor Plug & Receptacle: Allows prompt disconnection of trolling motor wiring.
- Extension Wiring: Because the power cables on trolling motors are 3-5 ft, you may need additional length depending on the placement of your battery. Measure from the mounting plaement of your motor to where your battery is secured to get the distance of wire needed. Here are step by step instructions showing how to extend your Newport Vessels trolling motor wiring. If you would like to purchase additional wiring from us, please see our 5ft and 10ft Cable Extension Kits.


Now you are ready to properly attach your trolling motor to your batteries. Take the red (positive) wires and attach it to the positive (+) battery terminal. Then take the negative (black) wire and attach it to the negative (-) battery terminal. Make sure the connections are fully tightened to avoid a loose connection. If your trolling motor requires 24v, you will have to connect to your battery in series. Please see Pages 5-6 in your Newport Vessels Owner's Manual for instruction.